
Turning your digital design into a high-quality printed catalogue is a multi-step journey. It starts with a clear idea and moves through planning, artwork setup, and choosing the right materials, culminating in a physical marketing tool that lands directly in your customers' hands.
Your Blueprint for a Successful Catalogue
In a marketplace flooded with digital noise, a beautifully designed catalogue offers a powerful, tangible way to connect with your customers. Unlike a fleeting online ad, a physical booklet can sit on a desk or coffee table for weeks, acting as a constant, welcome reminder of your brand. It’s an experience for the senses that helps build real loyalty and drive sales.
This guide is your complete roadmap. We'll walk through every crucial stage, from that first spark of an idea right through to holding the finished product. Think of it as your project blueprint, helping you start with confidence and sidestep the common pitfalls that can trip people up. The process isn't just a single action; it's a structured journey from concept to final print.
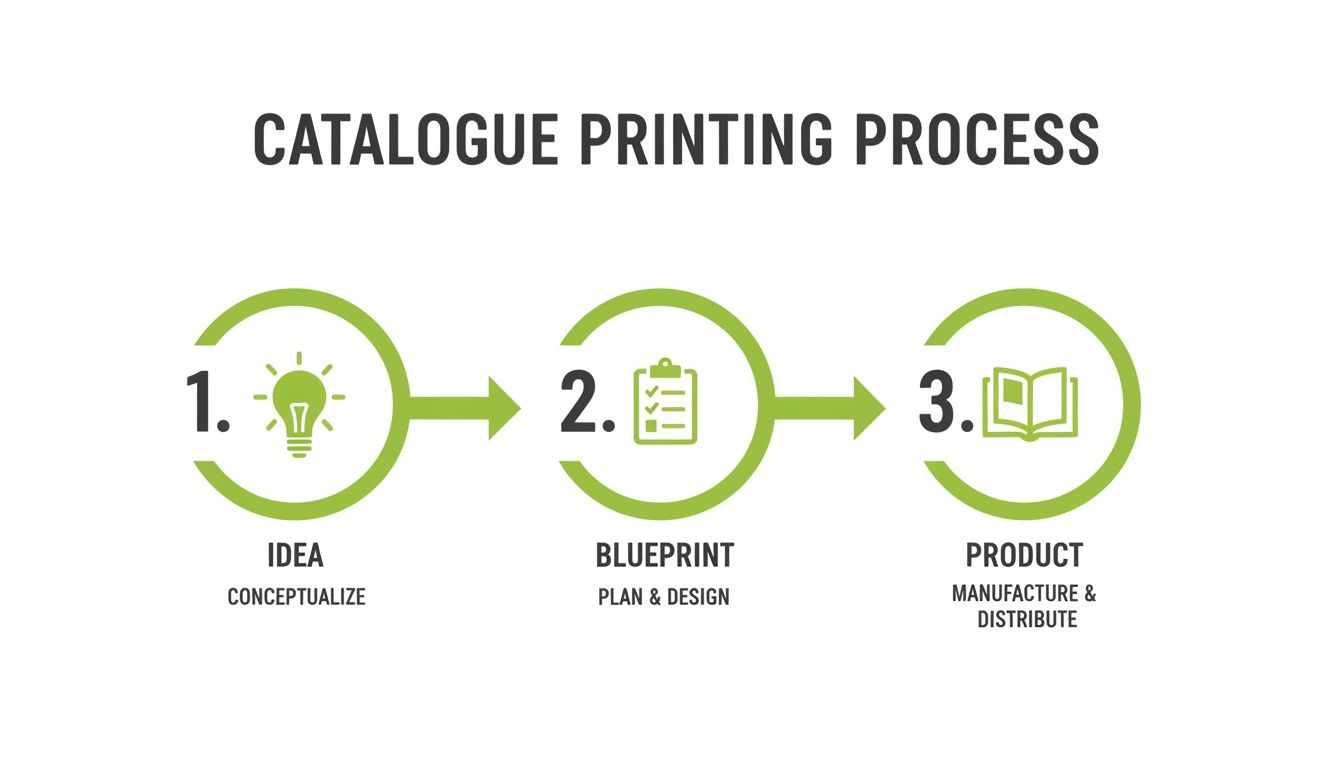
As you can see, each step builds on the last. Get the foundation right, and you're well on your way to a professional, high-quality result that does your brand justice.
Why Print Still Matters
Don't just take our word for it. The UK’s digital printing sector is booming, with revenues expected to hit £1.4 billion by 2025. This growth isn’t just from big corporations; it’s being driven by SMEs, event organisers, and hospitality brands who understand the value of fast, high-quality marketing materials that people can actually hold.
A great catalogue doesn’t just list products; it tells your brand’s story. It’s your chance to immerse your audience in your world, creating a memorable experience that digital formats often struggle to replicate.
To really nail it, every element needs careful thought:
- Purpose and Audience: Who are you trying to reach, and what action do you want them to take?
- Content and Design: How will you arrange your products and information to make the biggest impact?
- Physical Materials: What paper, binding, and finishes will best reflect your brand’s quality and feel?
If your project is a bit smaller or has fewer pages, our expert guidance on printing booklets and brochures offers some fantastic insights that can also help you get started.
Laying the Groundwork Before You Even Think About Design

A truly effective catalogue begins life as a solid strategy, long before you open up any design software. This is the crucial stage where you turn business goals into a concrete plan for your print project. So many people rush this part, and it's a classic mistake that leads to a catalogue that looks pretty but just doesn't deliver the goods.
Think of it like building a house – you wouldn't start laying bricks without a detailed blueprint. In the same way, your catalogue needs a clear purpose, a defined audience, and a logical structure to have any real impact. Taking this time to plan properly ensures every single page is pulling its weight for your brand.
Nailing Down Your Catalogue's Core Purpose
First things first, you need to ask the big question: what, exactly, do you want this catalogue to do? The answer will influence every decision that follows, from the tone of your writing to the feel of the paper you choose. Your core goal is the compass for the entire project.
For example, a catalogue destined for a busy trade show needs to be punchy and visually arresting to cut through the noise. On the other hand, a seasonal mail-order catalogue for loyal customers can afford to be more detailed, weaving in stories and comprehensive product info.
What's your primary objective?
- Driving direct sales: The main goal is getting people to pick up the phone or visit your website to buy.
- Generating new leads: Maybe it’s designed to prompt enquiries, quote requests, or website sign-ups.
- Building brand awareness: The focus is on telling your brand's story and showcasing what you stand for.
- Simply providing information: It might be a technical guide, an event programme, or an informational booklet.
Knowing your main aim from the outset makes it much easier to measure success later on and keeps the project perfectly aligned with what your business actually needs.
Structuring Your Content and Planning the Pages
Once your purpose is crystal clear, you can start mapping out the content. This is about much more than just dropping in a list of products; it's about crafting a journey that guides the reader from the cover right through to the call to action. A messy, illogical layout will only confuse people and make them lose interest.
Start by sketching out a rough flatplan of your sections. A typical structure might flow from an introduction and featured products into specific categories, before finishing with a clear 'how to order' page. A hospitality supplier, for instance, might group items logically by area: reception, bedroom, and restaurant supplies.
One of the most critical early steps is planning your page count, or pagination. This number has a direct impact on your print costs and binding options. For standard booklet printing, your total page count must be a multiple of four – a small but vital detail that’s surprisingly easy to overlook.
Getting this sorted early helps you manage your budget much more effectively. Knowing your final page count allows you to get far more accurate printing quotes. You could even look into cost-saving bulk buying strategies for your paper stock to optimise your spend and keep materials on hand.
Gathering All Your Essential Assets
With a solid structure in place, the last piece of the foundation is getting all your assets together. This means gathering your high-quality product photography and writing compelling, accurate descriptions before the design phase even starts. Trying to find images or write copy while your designer is waiting is a surefire recipe for costly delays and compromises.
Your pre-design checklist should include:
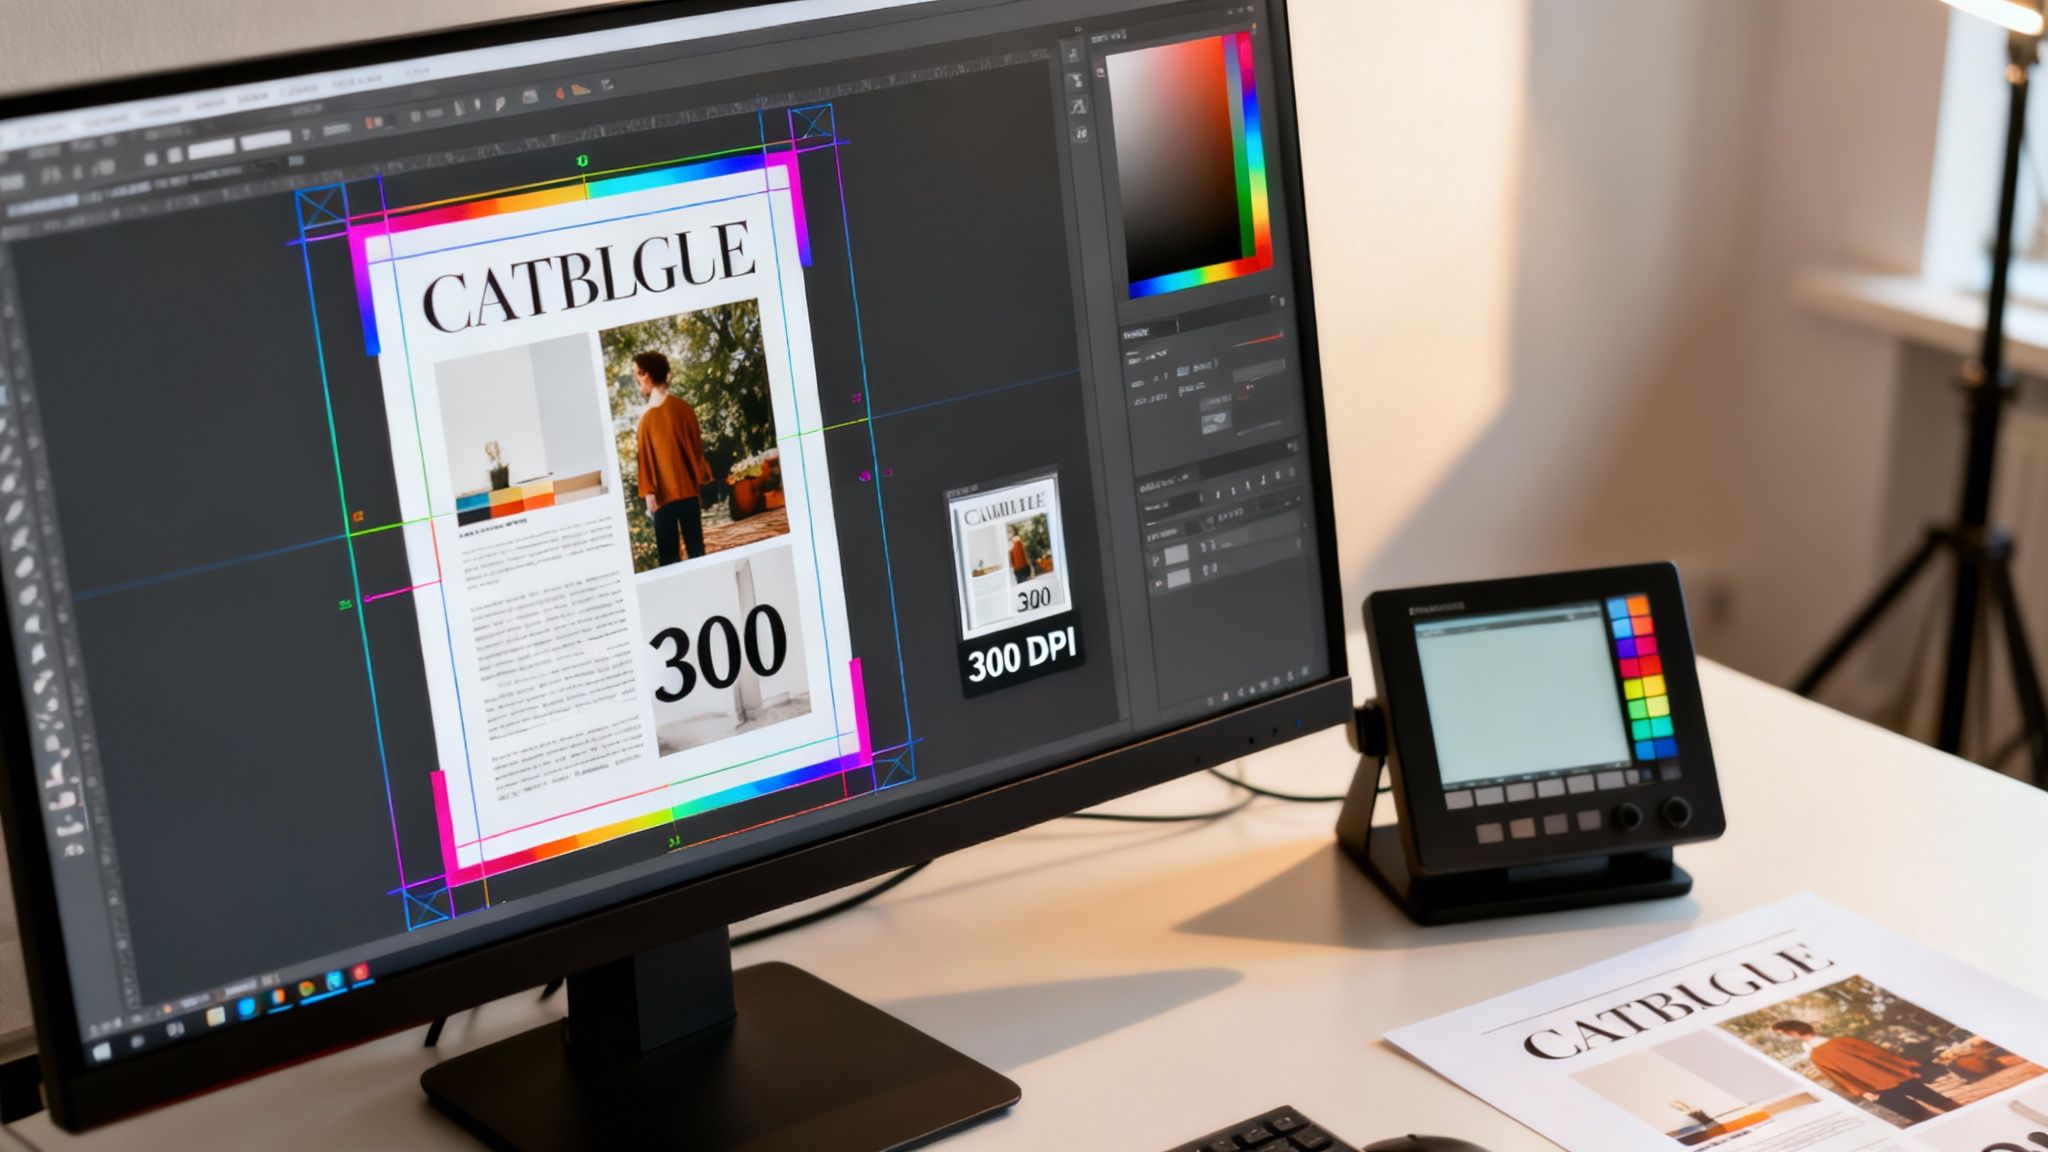
- High-Resolution Photography: Make sure every image is at least 300 DPI (dots per inch) to guarantee they print sharply and professionally.
- Compelling Copy: All product descriptions, headlines, and introductory text should be written, proofread, and signed off.
- Brand Elements: Have your logo files, brand colour codes (CMYK), and specific fonts ready to hand over.
Organising all these components upfront makes for a seamless handover to the design stage. This preparation empowers your designer to get straight to work on creating a stunning and effective layout, bringing your vision to life without any last-minute chaos.
Nailing Your Artwork for Flawless Printing
Once your strategy is solid, it’s time to get stuck into the design files. This is where your catalogue’s visual identity really comes to life, but it’s also the stage where small technical mistakes can easily derail a project, leading to delays and unexpected costs. Getting your artwork 'print-ready' is all about making sure what you see on your screen translates perfectly to paper.
Let's break down the key technical bits in a straightforward way. Understanding these fundamentals means you can supply files that sail through the printing process, saving you time, money, and a whole lot of headaches.
Setting the Correct Size and Bleed
The very first thing to do in any design software is set up your document. Getting the size right from the start is non-negotiable. If your catalogue is meant to be A4, your design canvas must be set to A4 dimensions (210mm x 297mm). Designing at the wrong size and hoping to scale it later is a recipe for distorted text and blurry images.
Beyond the page size itself, you absolutely need to add a bleed. This is arguably the most crucial and most frequently missed element in print design. Commercial presses print on huge sheets of paper which are then trimmed down to size. Because the trimming machines have a tiny margin of error, a bleed stops any unprinted white slivers from showing up on the edges of your finished catalogue.
A bleed is a small, extra margin of your background colour or image that extends beyond the final trim line. A standard bleed is 3mm on all sides. This ensures that even if the trim is a fraction of a millimetre off, the colour runs beautifully from edge to edge.
For a deeper dive into this, our guide explains everything you need to know about setting up bleed in printing and why it's so vital for a professional finish.
The Critical Role of Image Resolution
Have you ever seen a printed item where the photos look fuzzy or pixelated? That's almost always a resolution issue. Images on a website look perfectly sharp at a low resolution, but print requires a lot more detail.
For printing a catalogue, all your images must have a resolution of 300 DPI (Dots Per Inch). This is the industry standard for high-quality, professional printing. An image at 72 DPI might look fine on your screen, but it will look blurry and cheap when printed.
- Check Before You Start: Before you even place an image into your layout, open it in an image editor and check its resolution.
- Don’t Artificially Enlarge: You can't just increase the DPI of a low-res image and expect it to look good. This just stretches the existing pixels, making it look even worse. Always, always start with a high-resolution source file.
Understanding Colour: CMYK vs. RGB
Colour is another area where the jump from screen to print can bring some nasty surprises. Your computer monitor, camera, and phone all create colours using the RGB (Red, Green, Blue) model, which is based on light. Printing presses, however, use the CMYK (Cyan, Magenta, Yellow, Key/Black) model, which is based on ink.
The range of colours that can be produced in RGB is much wider than what can be reproduced with CMYK inks. This is why a vibrant, electric blue on your screen might look duller and flatter when it comes off the press.
To avoid this, your design files must be set up in CMYK from the very beginning. This gives you a much more accurate preview of the final printed colours while you're designing. A restaurant, for instance, must ensure its food photography is converted to CMYK to stop rich, vibrant reds from appearing muted and unappetising in the final menu catalogue.
Quick Reference for Artwork Specifications
Here’s a simple table to keep these core specifications front of mind as you work on your design files. Getting these right is half the battle.
| Specification | Recommended Setting | Why It Matters |
|---|---|---|
| Colour Mode | CMYK (Coated FOGRA39 is common) | Ensures colours print accurately and avoids the dulling effect of converting from RGB. |
| Resolution | 300 DPI (Dots Per Inch) | Guarantees that all images and graphics will be sharp, clear, and professional. |
| Bleed Area | 3mm on all edges | Prevents unwanted white borders on the final trimmed product. |
| File Format | Print-Ready PDF (e.g., PDF/X-1a) | Locks all elements in place and embeds fonts and images for reliable printing. |
To guarantee flawless results and keep your brand consistent, it's essential to have clear guidelines for all your visuals. You'll find it much easier to create a unified aesthetic by developing a brand style guide for your business. This document ensures your colours, fonts, and logos are used correctly, every single time.
Choosing the Right Paper and Finishes
Once your artwork is technically perfect, it’s time for the exciting part: moving from the screen to the real world. This is where your catalogue stops being a digital file and becomes a tactile object your customers can actually hold and feel. The choices you make here—paper, binding, finishes—are absolutely critical in shaping how people perceive your brand’s quality.
Getting these physical elements spot-on is everything when you're printing a catalogue. A high-end fashion brand would completely undermine its luxury feel by printing on thin, flimsy paper. On the flip side, a local community newsletter using an overly thick, expensive stock might just look wasteful. Every single detail tells part of your story.
Understanding Paper Stocks
The foundation of your catalogue is, of course, the paper. You’ll mainly come across two categories: coated and uncoated. Each has a completely different look and feel.
-
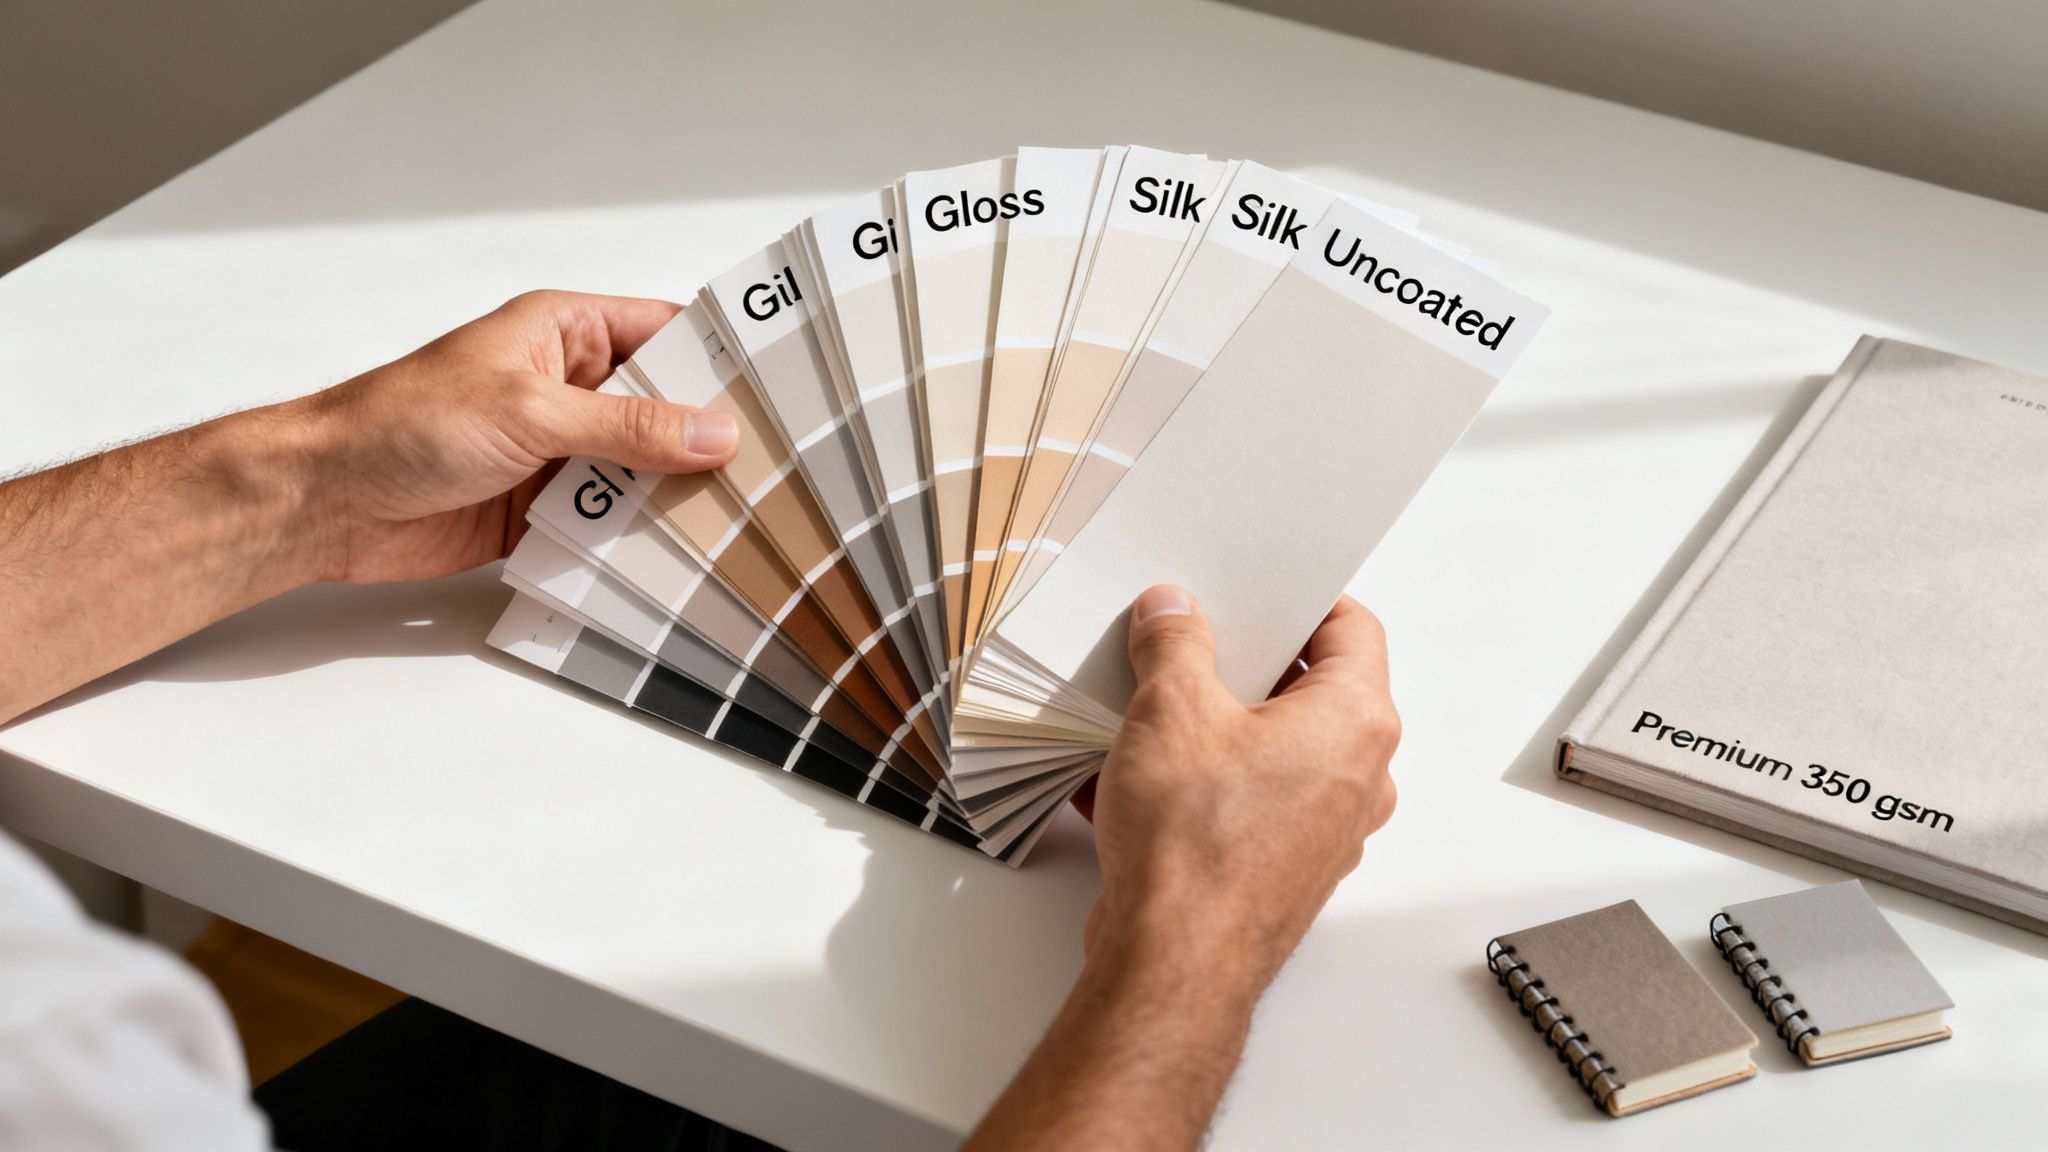
Coated Paper: This paper has a surface coating, usually made from clay, that makes it less absorbent. Ink sits crisply right on top, which means you get sharper images and much more vibrant colours. If your catalogue is packed with photography, coated stock is your best friend. It comes in two main flavours:
- Gloss: Has a high shine that reflects light and makes colours pop. It’s a fantastic choice for a high-impact, modern feel.
- Silk: Offers a smooth, low-sheen finish. It’s a hugely popular middle-ground, giving you brilliant colour reproduction without the intense glare of gloss, which makes blocks of text much easier to read.
-
Uncoated Paper: With its natural, more porous texture, this stock absorbs more ink. This tends to give colours a slightly softer, more muted look. Uncoated paper feels more organic and traditional, making it a superb choice for brands aiming for an authentic, rustic, or eco-conscious vibe.
Decoding Paper Weights
Paper thickness is measured in GSM (Grams per Square Metre). Simply put, a higher GSM number means a heavier, thicker, and more durable sheet of paper. Picking the right GSM is all about balancing perceived quality, practicality, and your budget.
For a catalogue, you’ll usually want different weights for the cover and the internal pages. This simple trick makes the whole thing feel more substantial and professional. A thicker cover adds rigidity, protects the pages inside, and gives an immediate signal of quality.
Here are a couple of common combinations we see all the time:
- Budget-Friendly: A 130gsm silk for the inner pages with a 250gsm silk cover. This is a cost-effective option that still feels professional, perfect for high-volume mail-outs or community guides.
- Premium Quality: Stepping up to a 170gsm silk for the inner pages paired with a robust 350gsm silk cover. This combination feels seriously substantial and luxurious, ideal for a high-end property developer or a luxury hotel catalogue.
Your choice of paper sends a powerful, non-verbal message. The weight and texture in a customer's hands can communicate luxury, sustainability, or value before they've even read a single word.
Selecting the Right Binding Method
How you hold the pages together is another crucial decision, and it really comes down to your page count. The two most common methods for catalogues are Saddle Stitching and Perfect Binding.
-
Saddle Stitching: Think of a typical magazine that’s saddle stitching. The pages are folded and stapled along the spine. It’s a very popular and affordable method, but it works best for catalogues with a lower page count, usually somewhere between 8 and 64 pages. The booklet can lie relatively flat when opened, which is a nice bonus.
-
Perfect Binding: For thicker catalogues (generally 40+ pages), this is the way to go. The pages are stacked and glued together at the spine with a strong, flexible adhesive before the cover is wrapped around them. This gives your catalogue a clean, squared-off spine just like a paperback book, delivering a very polished and professional look.
Adding Professional Finishing Touches
Finishes are the final flourishes that can take your catalogue from good to great. They add durability and a premium feel that helps your brand stand out from the crowd.
Lamination is a thin plastic film applied to the cover, offering brilliant protection against scuffs, fingerprints, and moisture. It comes in a few different styles:
- Matt Lamination: Provides a smooth, sophisticated, and non-reflective finish.
- Gloss Lamination: Creates a high-shine, vibrant look that really makes colours sing.
These finishing touches are a key part of the process. You can dive deeper into the possibilities by reading our detailed guide on the world of professional printing finishes and see how they can benefit your project. This final step is where the tactile quality of your catalogue truly comes to life.
The Final Checks Before You Print
You’ve navigated the technical maze of artwork setup and hand-picked the perfect paper and finishes. Now for the bit that makes even seasoned pros a little nervous: giving the final green light. This is your last chance to catch any gremlins before you commit your budget, so it’s worth getting it right.
Rushing this proofing stage is one of the costliest mistakes you can make. A tiny typo on a price or a colour that’s just a little bit ‘off’ can completely undermine all your hard work. This is the moment to slow down, be meticulous, and check every single detail.
Soft Proofs vs. Hard Proofs
Once you’ve sent over your artwork, your printer will send you a ‘proof’ for approval. This is your preview of the finished product. There are two types, and knowing the difference is key to getting what you want.
-
Soft Proof: This is a digital proof, usually a PDF, that you’ll look at on your screen. It’s brilliant for checking content and layout. You'll use it to make sure all the text, images, and pages are present and in the right order. But and this is a big but—it is not a reliable way to check colour accuracy. Every screen is calibrated differently, so what you see won’t be a perfect match for the final print.
-
Hard Proof: This is a physical, printed sample of your catalogue. It’s made using specially calibrated equipment to show you almost exactly how the colours will look on your chosen paper stock. Yes, it’s an extra step and often has a small extra cost, but a hard proof is invaluable if colour is critical to your brand. For a fashion company where the exact shade of a new season’s colour is a major selling point, a hard proof is non-negotiable.
Your Final Proofreading Checklist
Treat this stage like a final exam. It's surprisingly easy to become ‘design blind’ after staring at the same pages for weeks, so get a fresh pair of eyes—or several—to review it with you. Go through the proof methodically, page by page, looking for those common slip-ups.
We’ve seen from experience that even minor pagination issues can cause major headaches. To get a proper grip on how pages need to be arranged, especially for saddle-stitched booklets, our detailed guide on correct booklet page layout is a must-read.
Here’s a quick checklist to guide your review:
- Spelling and Grammar: Check every single headline, product description, and call to action.
- Contact Information: Are all phone numbers, email addresses, and website URLs spot on?
- Pricing and Codes: Double-check every single price, discount, and product code.
- Image Quality: Do any images look blurry, pixelated, or stretched?
- Page Order: Is every page exactly where it should be?
A single wrong digit in a phone number or a misplaced decimal point in a price can render an entire print run useless. Taking an extra hour to proofread thoroughly can save you thousands of pounds and a whole lot of stress.
Quantity, Turnaround, and Delivery
With the proof signed off, your last decisions are about quantity and timing. The print world runs on economies of scale; the more you print, the cheaper the price per catalogue becomes. You need to find that sweet spot between what you realistically need and what makes the most financial sense.
Finally, confirm the turnaround time (how long production will take) and the shipping schedule with your printer. And always, always build in a buffer. If you need your catalogues for a trade show on a Friday, don’t schedule delivery for Thursday afternoon. Plan for them to arrive a few days early. It’s the best way to account for any unexpected shipping delays and keep your stress levels down.
Got Questions About Printing Your Catalogue?
Even the most detailed plan can leave you with a few nagging questions before you hit 'print'. It’s completely normal. To put your mind at ease, we’ve put together some quick, clear answers to the most common queries we get from clients printing catalogues for the first time.
Think of this as your final checklist – a quick-fire round of practical advice to help you finalise your project with confidence.
How Much Will It Cost to Print a Catalogue?
This is always the big question, and the honest answer is: it really depends on what you choose. There’s no one-size-fits-all price, because the final cost is a blend of several key factors that are completely in your control.
The main things that will influence your quote are:
- Quantity: The more you print, the cheaper each individual catalogue becomes. A run of 2,000 will have a much lower per-item price than a smaller batch of 200.
- Page Count: It's simple – more pages mean more paper and machine time, which nudges the price up.
- Paper Stock: Going for a premium, heavy paper (like a luxe 350gsm cover) will cost more than a lighter, standard option (like a 130gsm silk for the inner pages).
- Finishes: Little extras like a matt or gloss lamination on the cover will add a small amount to the final cost, but can make a huge impact.
- Binding Type: Perfect binding is a more involved process than saddle stitching, so it typically costs a bit more.
The best way to get a solid figure is to play around with an instant online quoting tool or have a quick chat with your printer. That way, you can tweak the specs to find the perfect balance for your budget.
What’s the Typical Turnaround Time?
"Turnaround time" is the industry term for how long it takes from the moment you approve your proof to when your catalogues are printed, finished, and ready to be dispatched. It’s a crucial detail to factor into your timeline, especially if you’re working towards a hard deadline like a trade show or a seasonal launch.
For most standard print runs, you can expect a turnaround of about 5 to 7 working days. But keep in mind, this can be affected by:
- The Complexity of Your Order: A simple, saddle-stitched A5 catalogue is a much quicker job than a thick, perfect-bound book with special finishes.
- The Size of the Run: Naturally, a huge order will take longer to print and finish than a small one.
- The Printer's Schedule: Things can get busy, especially during peak seasons. It’s always smart to order well in advance to avoid any stress.
Always confirm the estimated turnaround with your printer when you order, and don't forget to add a couple of extra days for shipping. Last-minute orders are a recipe for anxiety!
Can I Get a Sample Before Placing the Full Order?
Yes, absolutely – and we can't recommend it enough. Getting a sample is the single best way to know for sure that you'll love the final product. You've got a couple of options here.
Most printers offer a generic 'paper sample pack'. This won't have your design on it, but it will include swatches of all the different paper stocks and finishes they use. It’s a brilliant way to actually feel the difference between a 170gsm silk and a 300gsm gloss paper.
If you want to see a preview of your actual catalogue, you’ll need what we call a 'hard proof'. This is a single, physical copy of your job. It does come with an extra cost, but it's the only way to be 100% sure about your colours and overall quality before you commit to the full print run.
Seeing and feeling a physical sample is invaluable. It removes all the guesswork and gives you total peace of mind that the paper weight, colour vibrancy, and overall finish are exactly what you envisioned for your brand.
Which File Format Is Best for Printing a Catalogue?
The undisputed champion and industry standard is a print-ready PDF. When you save your file as a high-quality PDF, it embeds all your fonts, images, and graphics into one self-contained, locked-down file. This is crucial because it ensures nothing can shift, break, or go missing when your printer opens it.
When you’re exporting from software like Adobe InDesign, always choose a 'Press Quality' or 'High-Quality Print' preset. Most importantly, make sure you’ve included the bleed and crop marks in the final export. If you're looking for a partner to make this easy, our guide to the best online printing services in the UK can point you towards companies with simple, straightforward file submission processes.
At The Print Warehouse Ltd, we make printing a catalogue a smooth and simple process from start to finish. Our easy-to-use online platform and expert UK-based team are here to help you create a stunning final product that gets results. Start your catalogue printing project with us today!

