
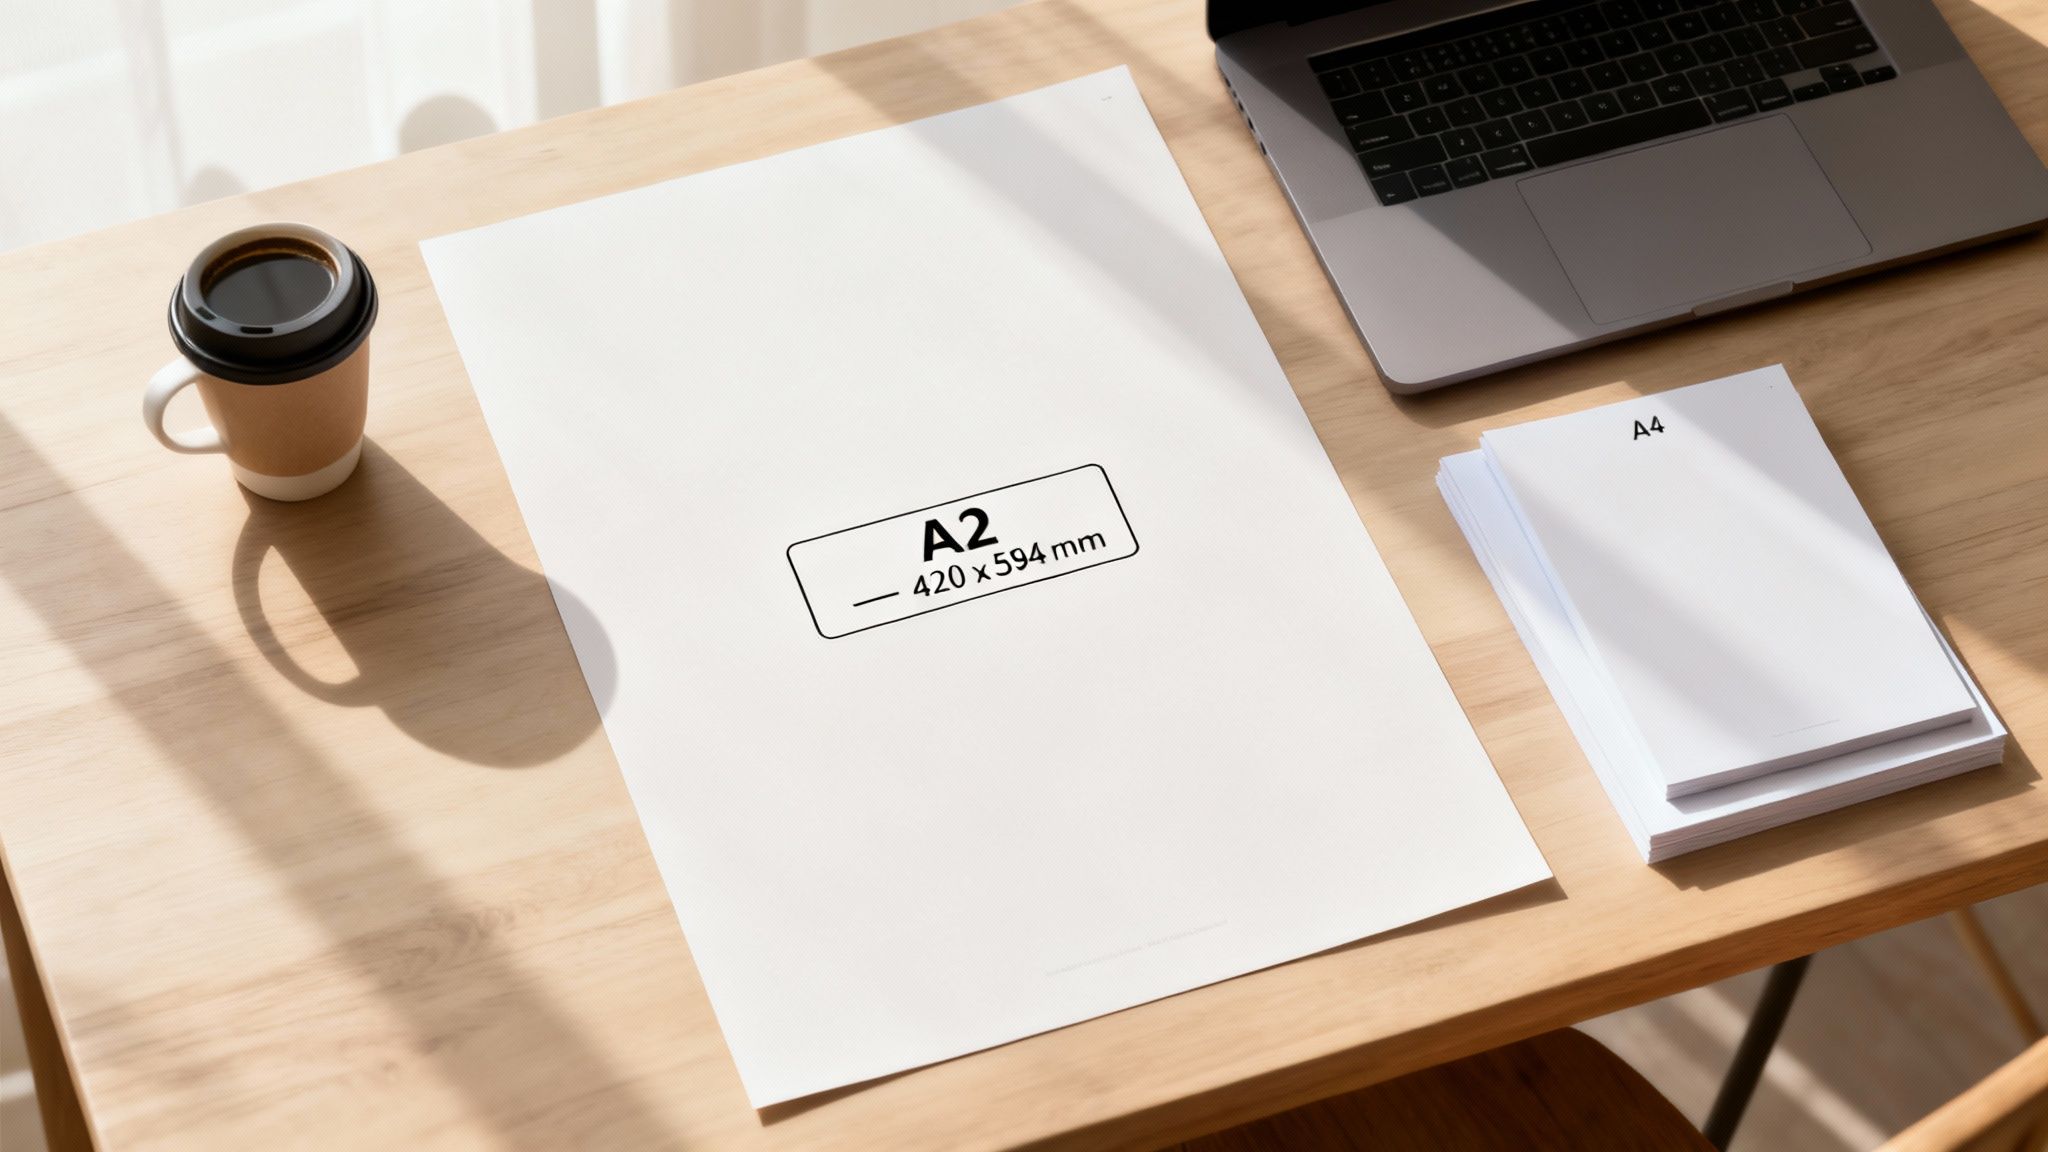
Right, let's get straight to it. When we talk about A2 paper size, we're looking at a sheet measuring 420 x 594 mm. In imperial terms, that’s 16.5 x 23.4 inches. It’s a wonderfully versatile format, making it a firm favourite for everything from eye-catching event posters to detailed architectural plans.
A2 Paper and the 'A' Series Standard
Ever wondered what makes the 'A' series of paper so clever? Think of it like a set of Russian nesting dolls. Each size fits perfectly within the next, and this simple logic is what makes scaling designs up or down an absolute breeze, without any weird stretching or cropping.
The system is built on one beautifully simple rule: each paper size is exactly half of the one before it.
- Slice an A1 sheet (594 x 841 mm) in half, and you get two perfect A2 sheets.
- Cut an A2 sheet (420 x 594 mm) in half, and you get two A3 sheets.
- Do the same with an A3 sheet (297 x 420 mm), and you've got two A4 sheets.
This mathematical harmony is the secret sauce. It lets designers and printers resize artwork flawlessly, keeping everything in perfect proportion whether you're creating a small flyer or a massive poster.
For a quick reference, here’s a simple breakdown of A2’s dimensions and how it relates to its neighbours.
A2 Paper Size At a Glance
| Metric | Imperial | Relationship to Other Sizes |
|---|---|---|
| 420 x 594 mm | 16.5 x 23.4 inches | - Half the size of an A1 sheet |
| 42.0 x 59.4 cm | - Twice the size of an A3 sheet | |
| - Four times the size of an A4 sheet |
As you can see, the relationship is straightforward, which is exactly why the 'A' series is the international standard for printing.
The A2 Standard in the UK
The UK adopted the ISO 216 standard back in the 1960s, and A2 has been a cornerstone of the print industry ever since. Measuring 42 cm by 59.4 cm, it has a surface area of 0.25 square metres – precisely half of A1 and double A3. This makes it incredibly efficient for production lines.
If you want to dive deeper into the measurements, we've got a helpful guide on what size A2 is in cm. The standard ensures that a design created for A4 can be blown up to A2 without losing its original composition or impact.
A2 paper provides a generous canvas that’s large enough to capture attention from a distance, yet still manageable enough for indoor displays like cafe menus, shop promotions, and informational signage. It strikes that perfect balance between visibility and practicality.
Getting a Feel for A2 Paper in the Real World
Numbers on a page can feel a bit abstract. You know that A2 paper measures 420 x 594 mm, but what does that really look like? Let's bring those dimensions to life by comparing A2 to objects you see every day.
It’s actually quite simple. Picture two standard A4 sheets of paper—the kind you’d use in your office printer. Place them side-by-side along their longest edge, and you’ve just made an A3 sheet. Now, just do that one more time: put two A3 sheets together, and there you have it—the generous canvas of an A2 sheet.
Putting A2 into Perspective
To really get a sense of its scale, think about where you might have seen it out in the wild. An A2 sheet is roughly the same size as:
- Four A4 pages laid out in a simple two-by-two grid.
- The front page of a broadsheet newspaper (like The Daily Telegraph) folded in half.
- A standard flip chart pad you’d find in any meeting room.
- A small promotional poster catching your eye in a café window or on a community noticeboard.
This visual map helps to show exactly how A2 relates to its neighbours in the A-series family.

As you can see, A2 is exactly double the size of A3 and precisely half the size of A1. It’s this beautifully logical system that makes the ISO 'A' paper series so easy to work with once you get the hang of it.
A2 hits that sweet spot. It’s large enough to get noticed from across a room, but not so big that it overwhelms a smaller space. This makes it a brilliant choice for things like in-store advertising or event signage.
If you're planning a campaign with various sizes, it's a good idea to see how they all stack up against each other. To get the full picture, take a look at our complete guide to common print poster sizes.
Where A2 Fits in the Grand Scheme of Things
Seeing the whole 'A' series together really helps cement A2's place in the family.
It's clear from this kind of illustration how each size is created by simply halving the previous one. From the massive A0 all the way down to the tiny A8, the proportions remain consistent, highlighting A2's substantial yet perfectly manageable scale right in the middle of the range.
How Businesses Use A2 Prints to Drive Results
Okay, we've covered the dimensions and technical details, but the real magic of A2 paper is what it can do for your business out in the wild. It’s the unsung hero of countless promotional campaigns, hitting that sweet spot between visibility and practicality. It’s big enough to make a statement but still compact enough to fit almost anywhere.
For a local high-street boutique, an A2 poster is the perfect way to announce a seasonal sale. It transforms a simple window into a vibrant, full-colour display that catches the eye of passers-by from across the street, turning foot traffic into customers without overwhelming the storefront.
It’s a similar story at a bustling trade show. An A2 print makes for a powerful and informative panel on an exhibitor's stand. You can showcase key product features, a punchy graphic, or a quick summary of your services to draw attendees in for a proper chat.

Actionable Examples from Different Industries
The sheer versatility of A2 prints means you can adapt them for almost any business goal. The trick is to understand how its size can meet your audience's needs in a specific environment.
Here are a few scenarios where A2 really shines:
- Hospitality: A restaurant uses A2 posters mounted on stylish A-boards to showcase daily specials or a new cocktail menu. Placed strategically near the entrance or bar, these visuals are brilliant for encouraging orders of high-margin items.
- Events and Charities: A local charity promoting a fundraising run can use A2 signage for wayfinding and info points along the route. The size is ideal for displaying maps, schedules, and sponsor logos clearly without being obstructive.
- Retail Environments: A bookshop could feature an A2 poster with a "Staff Pick of the Month," complete with a book cover image and a short review. It’s a simple way to create a personal connection and encourage those all-important impulse buys.
This effectiveness isn't just anecdotal. In the UK's custom printing sector, valued at a cool £1.2 billion in 2023, A2-sized products like posters and banners grabbed a significant 28% market share among promotional materials for small businesses.
Why A2 Works So Well
The success of A2 as a promotional tool comes down to a simple formula: visibility + placement = impact. It hits the sweet spot that other sizes often miss. An A4 notice is just too small to be seen from a distance, while a giant A0 banner might be too expensive or impractical for many indoor spaces.
An A2 poster is the perfect conversation starter for your brand. It doesn't shout, but it speaks clearly and confidently, delivering the right message to the right person at the right time.
For businesses looking to make a strong visual impression without breaking the bank, A2 offers a fantastic return on investment. If you're planning a campaign, our smart guide to cheap poster printing in the UK can help you make your budget go further.
Ultimately, whether you're announcing an event, promoting a product, or simply sharing information, the A2 paper size gives you a powerful and adaptable tool to connect with your customers.
Preparing Your Artwork for Flawless A2 Printing
Taking a design from your screen and turning it into a physical A2 print can feel like navigating a technical minefield. But getting it right is simpler than it sounds, and it’s the secret to ensuring your final product looks as professional and vibrant as you imagined.
Think of it like building the foundations for a house. If they're weak, the final structure will have problems. It’s the same with print getting the technical details sorted from the start guarantees a high-quality A2 print without any unwelcome surprises.
Mastering the Essentials: Bleed and Safe Area
Two of the most crucial concepts to get your head around are bleed and the safe area. They might sound like jargon, but they work together to protect your design when it's trimmed down to its final size.
Remember colouring in a picture as a child? To make sure the colour went right to the edge, you’d often go slightly over the lines. Bleed works in exactly the same way. It’s a small border we recommend 3mm on all sides—where you extend your background colour or images beyond the final trim line. This tiny extension ensures that when we cut the print to its final A2 size, there are no accidental slivers of white paper left along the edges.
If bleed is about extending your design outwards, the safe area is all about protecting what’s inside. This is the VIP zone within your artwork, a buffer from the trim edge where all your most important elements need to live. This includes things like:
- Your company logo
- Key text and headlines
- Important contact details or dates
By keeping these crucial elements well away from the edge, you guarantee they won’t be accidentally chopped off during production. It’s a simple step that preserves the integrity of your message. For a more detailed walkthrough, our guide on how to print with bleeds covers everything you need to know.
Getting Technical: Resolution and Colour
With the physical layout sorted, it's time to look at the digital DNA of your file its resolution and colour profile. These settings have a massive impact on the sharpness and colour accuracy of your final A2 print.
The industry standard for high-quality printing is 300 DPI (Dots Per Inch). This basically refers to the density of tiny ink dots a printer places on each inch of paper. A higher DPI means a crisper, clearer image. An image at 72 DPI might look perfectly fine on your computer screen, but it will appear blurry and pixelated when blown up to A2 size.
Always set your design document to 300 DPI before you even begin creating your artwork. Trying to increase the resolution of a low-quality image later on simply won’t work—it’s like trying to un-blur a fuzzy photograph.
Finally, let’s talk colour. Your screen displays colours using the RGB (Red, Green, Blue) model, which is based on light. Professional printers, however, use the CMYK (Cyan, Magenta, Yellow, Key/Black) model, which is based on mixing physical inks. To make sure the colours you see on your screen are reproduced accurately on paper, your artwork must be created and saved in the CMYK colour profile. If you send us an RGB file, you might get some unexpected colour shifts in your final A2 print.
To make this even clearer, here’s a quick checklist to run through before you send your artwork our way.
A2 Print-Ready Artwork Checklist
| Specification | Recommended Setting | Why It Matters |
|---|---|---|
| Bleed | 3mm on all sides | Prevents white edges after trimming for a professional, borderless finish. |
| Safe Area | At least 5mm from the trim edge | Protects your essential text, logos, and images from being cut off. |
| Resolution | 300 DPI | Guarantees your images and graphics will be sharp, clear, and not pixelated. |
| Colour Mode | CMYK | Ensures the colours printed on paper match what you intended on your screen. |
Following this checklist is the best way to ensure your file is technically perfect, leading to a smooth printing process and a fantastic final product.
How to Order Your A2 Prints with Confidence
Getting your design from a digital file to a stunning, professionally printed A2 piece is easier than you think. Once you’ve finalised your artwork, our ordering process is designed to be completely transparent, so you get exactly what you have in mind without any surprises.
First things first, you’ll need to upload your finished artwork. Our system handles all the usual file types like PDF, JPEG, and TIFF, so you’re covered. From there, you get to choose the perfect paper for your project. Are you creating an indoor poster? A lightweight 150gsm silk might be perfect. Or maybe you need something tougher for a high-traffic area? A sturdy 250gsm stock will do the job beautifully.
Finalising Your Order Details
Next up, it’s time to add those finishing touches that really make your design stand out. You can add things like a gloss or matt lamination, which not only looks and feels great but also gives your A2 print an extra layer of protection against scuffs and spills.
One of the most important steps is checking your instant online proof. This gives you a digital preview of your artwork, complete with trim lines, so you can give everything one last check before hitting ‘print’. It’s your final chance to catch any mistakes and be 100% happy with the result.
We’ve designed the whole process to put you in the driver’s seat. Ordering prints should be a simple, stress-free experience, from that first click right through to the moment your box arrives.
If you’re looking for more ideas on creating eye-catching visuals, check out our guide to custom poster printing in the UK for extra tips. With a clear process and the right tools, you can order your A2 prints knowing they’ll arrive looking sharp and ready to impress.
Your A2 Paper Size Questions Answered
Even with the basics down, you’ll often find a few specific questions pop up just as you’re about to hit ‘print’. We get it. That’s why we’ve gathered the most common queries we hear about A2 paper, with clear answers to help you sidestep any printing pitfalls.
These questions come straight from the source—designers, marketers, and small business owners just like you, all facing real-world print challenges. From picking the perfect paper finish to figuring out pixels, consider this your final checklist.
Can I Print a High-Quality Photograph at A2 Size?
You absolutely can! A2 is a fantastic choice for making a real impact with photo prints, but getting it right comes down to one crucial thing: resolution. To make sure your photograph looks crisp and sharp—not blurry or pixelated—when it’s blown up to A2, the original image file needs to be top-notch.
For a professional-quality print at 300 DPI (Dots Per Inch), which is the industry standard, your image needs to be at least 4961 x 7016 pixels. If you try to use a low-resolution file, like a picture you’ve saved from social media, you’ll almost certainly end up with a fuzzy, blocky mess. Always, always use the original, highest-quality file you have.
What Is the Best Paper Weight for an A2 Poster?
The perfect paper weight, or GSM (Grams per Square Metre), really depends on where your poster will live and what it’s for. There’s no single ‘best’ option, but here’s a quick guide to get you started:
- Indoor Use: For posters that are going into a frame or being mounted inside, a standard 150gsm to 170gsm silk or gloss paper is a brilliant choice. It gives you a professional feel without breaking the bank.
- Durability Needed: If your prints are going to be handled a lot or you just want them to feel a bit more substantial, stepping up to a heavier 250gsm stock is a much better bet.
- Outdoor Displays: Planning to brave the great British weather? You’ll want to look at waterproof materials or add a protective laminated finish to shield your poster from the rain and sun.
How Do I Set Up Bleed for an A2 Document?
Getting your bleed right is non-negotiable if you want a clean, edge-to-edge print without any of those annoying little white borders. It’s simple to do in your design software—you just need to extend your background colours or images past the final trim line.
In the UK, the standard bleed is 3mm on all four sides. This means that for an A2 print (420 x 594 mm), your actual artwork file should be designed at 426 x 600 mm. This extra bit gets trimmed off after printing, leaving you with a perfectly finished edge.
This isn’t just a modern quirk. The A2 size became a linchpin in UK printing after the ISO 216 standard was adopted in 1961. As Britain shifted from imperial to metric, A2 quickly became the go-to for posters, making up 35% of all poster outputs by 1975.
Ready to create stunning A2 posters, signs, or promotional materials? At The Print Warehouse Ltd, we make it simple to get high-quality, professional results. Upload your design and let our expert team handle the rest, delivering flawless prints right to your door.

