
Choosing The Right Envelope Types And Sizes
Picking the perfect envelope starts with matching format, weight and finish to your project. Get those details right and you’ll dodge postal surcharges and design headaches.
A quick way in is sticking with C5 or DL they’re the bread-and-butter sizes most printers handle without fuss. If you want to stand out, square and windowed options bring personality or practicality to the table.
I once worked with a boutique brand that sent foil-stamped invites in 140×140 mm square envelopes. Printer jams were inevitable, but the premium look was worth some manual feed. On the flip side, a finance team chose windowed DL mailers for billing statements, letting addresses peek through pre-printed inserts and speeding up their mailing line.
Before you order, measure envelope flaps with a steel ruler and request paper swatches. Even small variations in finish or weight can affect print quality.
Popular Envelope Formats
- C5 (162 × 229 mm): Holds an A5 sheet folded once perfect for brochures and event programmes.
- DL (110 × 220 mm): Fits A4 folded into thirds ideal for letters, invoices and newsletters.
- Square 140×140 mm: Eye-catching for invitations or greeting cards, but plan for hand-feeding on most printers.
- Windowed DL (110 × 220 mm): Streamlines billing by revealing pre-printed addresses on inserts.
Comparison Of Common Envelope Sizes
Here’s a quick reference for popular envelope formats, their dimensions and typical use cases:
| Size Name | Dimensions (mm) | Typical Use |
|---|---|---|
| C5 | 162 × 229 | Brochures and folded flyers |
| DL | 110 × 220 | Standard letters and invoices |
| Square (140×140) | 140 × 140 | Invitations and greeting cards |
| Windowed DL | 110 × 220 | Billing statements and reminders |
This overview should make matching your envelope choice to your content and postage rules even easier.
Postal and stationery demand remains strong despite falling volumes. In 2023, the UK manufacture of paper or paperboard envelopes was valued at approximately £214.5 million.

Above is the anatomy of a standard envelope—flap, window cut-outs and all. Use these landmarks when setting up your artwork and templates.
Check out our guide on standard envelope sizes for detailed dimension charts and postal guidelines.
Envelope Weight And Security Linings
Paper weight plays a big role in cost, handling and presentation. A light stock can jam printers but keeps postage low; a heavier option looks and feels more luxurious.
- 80–100 gsm: The sweet spot for everyday mailers and budget runs.
- 120–160 gsm Security-Lined: Ideal for confidential documents plus the lining hides contents from prying eyes.
If you’re sending invoices or statements, weigh whether reduced postage from lighter stock offsets the peace of mind security lining brings.
Finally, always confirm postal dimensions with Royal Mail or your chosen carrier to avoid unexpected surcharges. And don’t underestimate the impact of seal type peel-and-seal works brilliantly on machines, while gummed flaps give a classic finish for hand-sealed batches.
Getting these specs right at the outset saves time, money and last-minute panic. Start measuring early, and you’ll breeze through production.
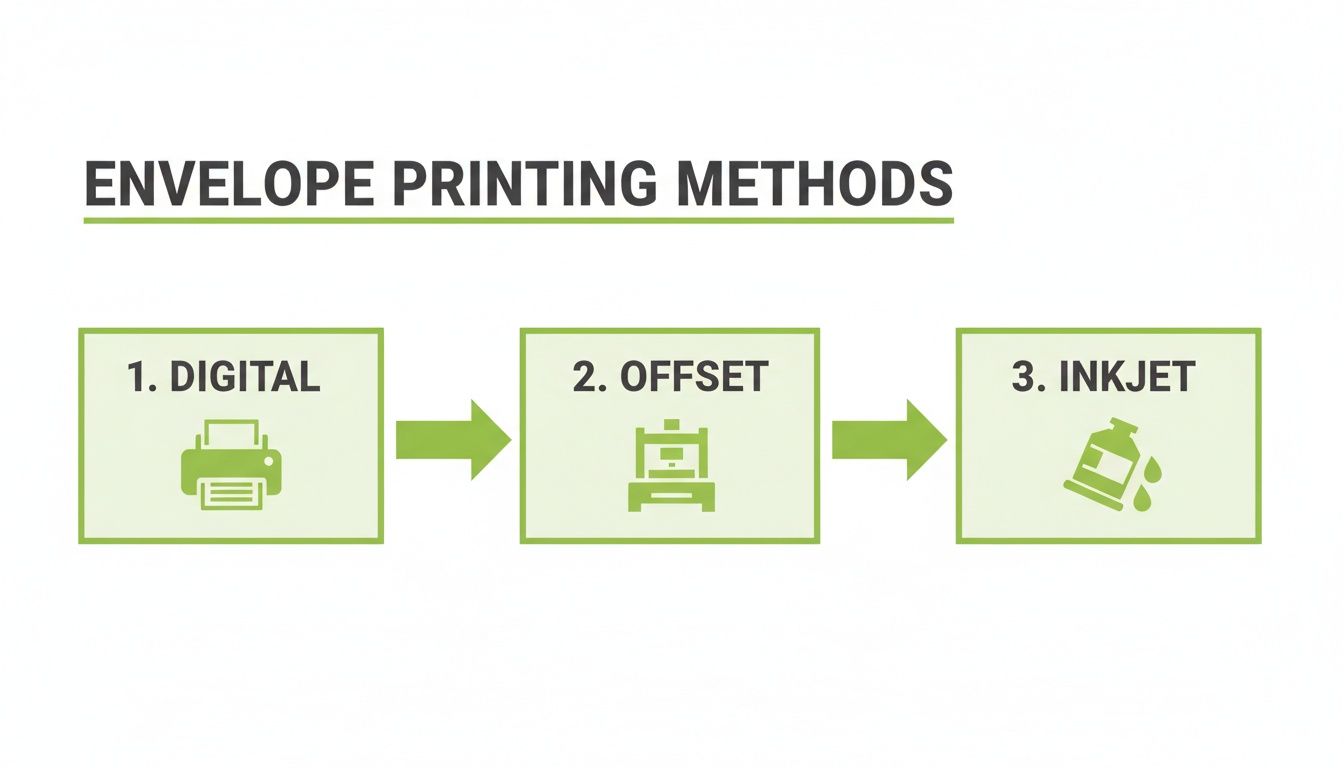
Selecting Best Envelope Printing Methods
Finding the right print method for your envelopes can slice waste and lift quality. Ever seen a small startup crank out 500 personalised envelopes with a desktop inkjet in one afternoon? They did, and it saved hours of hand-addressing.
Digital Printing Insights
Digital presses shine when runs stay under 1,000 units. You get full-colour output, rapid turnaround and the chance to proof on the fly.
Inkjet addressing is a favourite for campaigns where variable data or a simple logo add personal flair.
• Pros of Digital Presses
- Quick proofs
- Minimal setup fees
- Easy data changes
• Cons of Digital Presses
- Higher unit cost for large runs
Offset Printing Advantages
Once you hit 5,000 envelopes, offset presses become unbeatable on cost per piece and colour consistency.
A direct mail house ran 10,000 bulk mailers through offset to hit tight margins on both postage and production.
• Pros of Offset Printing
- Low unit cost
- Stable and accurate colours
• Cons of Offset Printing
- Longer setup times
- Minimum quantity requirements
Let’s break down each approach in a side-by-side comparison.
Comparison Of Printing Methods
| Method | Pros | Cons | Best For |
|---|---|---|---|
| Digital | Quick setup Internal proofs |
Higher cost per unit for large runs | Small to mid runs |
| Offset | Low unit cost Colour stability |
Longer setup time Minimum runs |
Bulk mail campaigns |
| Thermal | Crisp mono addressing Durable |
Limited colour Slower speeds |
Variable data runs |
| Inkjet | Personalisation Logo prints |
Ink smudge risk Paper limitations |
Short to mid runs |
The table highlights each method’s pros, cons and ideal use cases at a glance.
This screenshot shows relative turnaround times and cost per envelope by printing technique.
Interestingly, direct mail and envelope usage in the UK have evolved into a specialist market where personalised envelopes support measured growth, even as overall printing revenue falls at around a 4.1% CAGR.
Choosing the right technique cuts costs by up to 30% on bulk envelope orders.
Negotiating With Suppliers
Always ask printers for volume discounts and get lead times in writing. Outlining artwork complexity upfront prevents hidden fees or delays.
• Request sample proofs to check coating, ink coverage and registration
• Include turnaround clauses to guarantee deadlines
Thermal Transfer Tips
Thermal transfer printing fuses ribbon ink onto the envelope surface, delivering sharp, mono prints. It excels at barcodes and sequential numbering but doesn’t handle full-colour work.
• Ideal for high-speed, variable data runs over 2,000 pieces
Inkjet Personalisation
You can set up a desktop inkjet for under £200, making it perfect for campaigns that need unique art on every envelope.
• Allow at least 30 minutes for ink to dry before handling
Mix and match methods if you need both spot colour and variable data on a single mailing.
Choosing The Best Fit
Map your volume, deadline and design complexity against each method’s strengths. Then ask for samples to confirm real-world performance.
• Check for hidden costs like die changes or ink setup charges
• Convert PDFs to embed fonts and outline text before sending
• Ensure stock GSM aligns with your printer manual
• Use a minimum 3 mm bleed on full-bleed designs
• Review packaging options to protect envelopes in transit
• Test stock from suppliers before final approval
That way, your envelopes reach inboxes on time, on budget and exactly as you planned.
Setting Up Artwork Templates
Crafting a bulletproof envelope template often starts long before the artwork hits the press. Nail your bleed, safe areas and fold margins early on, and you’ll avoid those frantic, last-minute tweaks that can derail a print run.
Key Template Settings
• Bleed: Extend artwork by 3 mm beyond the trim edge to guard against unintended white borders
• Safe Zone: Keep vital text and logos at least 5 mm inside the trim for consistent placement
• Fold Margin: Align your design elements with the flap hinge so they don’t crease or slip under folds
Preflight And Colour Checks
Before you hit export, outline or embed every font. That way, you sidestep missing typefaces when sharing files with your printer.
Next, convert all colours to a CMYK profile Coated Fogra39 is an industry favourite for achieving predictable results on press. Double-check that any linked images are at 300 DPI at full scale, so your envelopes come out crisp rather than pixelated.
When you’re ready to save, use PDF/X-4 settings. They’re widely accepted by professional print partners and minimise output surprises.
In this InDesign layout, bleed guides and safe zones sit on dedicated layers—making it impossible to lose cut marks or fold lines when exporting. A marketing team once caught artwork sneaking behind a flap, fixed their safe zone in minutes and saved a costly reprint.
As UK printing firms have consolidated expertise into specialist operations, short-run custom envelope jobs demand ever-tighter tolerances.
You might also find detailed bleed techniques in our guide on print with bleeds
Checking Window Cut-Outs
Always overlay your dieline to confirm logos and addresses stay clear of window openings. Printing a folded mock-up helps you verify visual placement in three dimensions—long before press time.
Template Dimensions Summary
| Measurement | Value |
|---|---|
| Bleed | 3 mm |
| Safe Zone | 5 mm |
| Fold Margin | Hinge |
Final Checklist Before Delivery
• Match bleed, safe zones and fold margins to your envelope artwork dimensions
• Package all fonts, linked images and dielines into one clearly named folder
• Export as PDF/X-4 and review a printed mock-up for perfect alignment
Keep your templates up to date with each new format. Archive versioned artwork to speed up future jobs and ensure consistent results every time.
Exploring Colour And Envelope Finishes
Selecting the perfect colour and finish turns your envelope from mere packaging into a powerful brand touchpoint.
Spot inks such as Pantone guarantee your signature hue is spot-on every time. On the flip side, CMYK printing gives you full-colour flexibility—just watch out for slight shifts when you go from screen to envelope.
When To Use Metallic And Fluorescent Inks
Imagine opening a wedding invite and spotting metallic gold accents glinting in the light. That’s instant delight. We saw this play out in a run of 250 wedding envelopes: adding gold foil transformed them into keepsakes.
Corporate mailers can benefit, too. One client used fluorescent orange to highlight deadlines, and their open rates jumped noticeably.
Key Finishes:
- Aqueous Varnish: Shields against scratches and offers a gentle sheen
- UV Spot Gloss: Gives logos and graphics extra pop
- Soft-Touch Laminate: Feels velvety and exudes luxury
Before you go large, test samples. You’ll avoid unwelcome surprises like patchy metallic coverage or inconsistent gloss.
“Always request a wet proof to verify true ink and finish appearance.”
Tools such as SWOP guides bridge the gap between what you see on screen and what lands in your hand.
How To Sample Finishes
It pays to start conversations with your print partner early. Here’s how to get meaningful swatches:
- Request small batches of coated and uncoated envelopes
- Ask for dry proofs to check ink alignment on different stocks
- Examine UV gloss under natural daylight for uniformity
- Feel out soft-touch laminates for dust resistance and texture
This hands-on approach maintains your brand’s integrity and prevents mid-run headaches.
Check out our guide on finishing in printing to refine your envelope touchpoint.
Each layer you choose is another chance to make an impression and good finishes can boost brand recall and perceived quality.
Proofing Colour Accuracy
Digital proofs offer a clear sense of how colours interact with paper fibres. But for projects where precision matters, a wet proof on the exact envelope stock is indispensable.
Balancing Cost And Impact
Premium finishes can add 5–15% to your unit price. Weigh the cost against potential upticks in open rates or the prestige factor. Sometimes, a single spot UV highlight alongside CMYK printing strikes the perfect balance between budget and impact.
Final Touches
Your envelope design should dovetail with your mailing strategy. Lock in proofs, sample early and approve finishes well before production starts. A small investment in samples can save days of back-and-forth and ensure your envelopes arrive just as you envisioned.
Managing Variable Data And Sequential Numbering
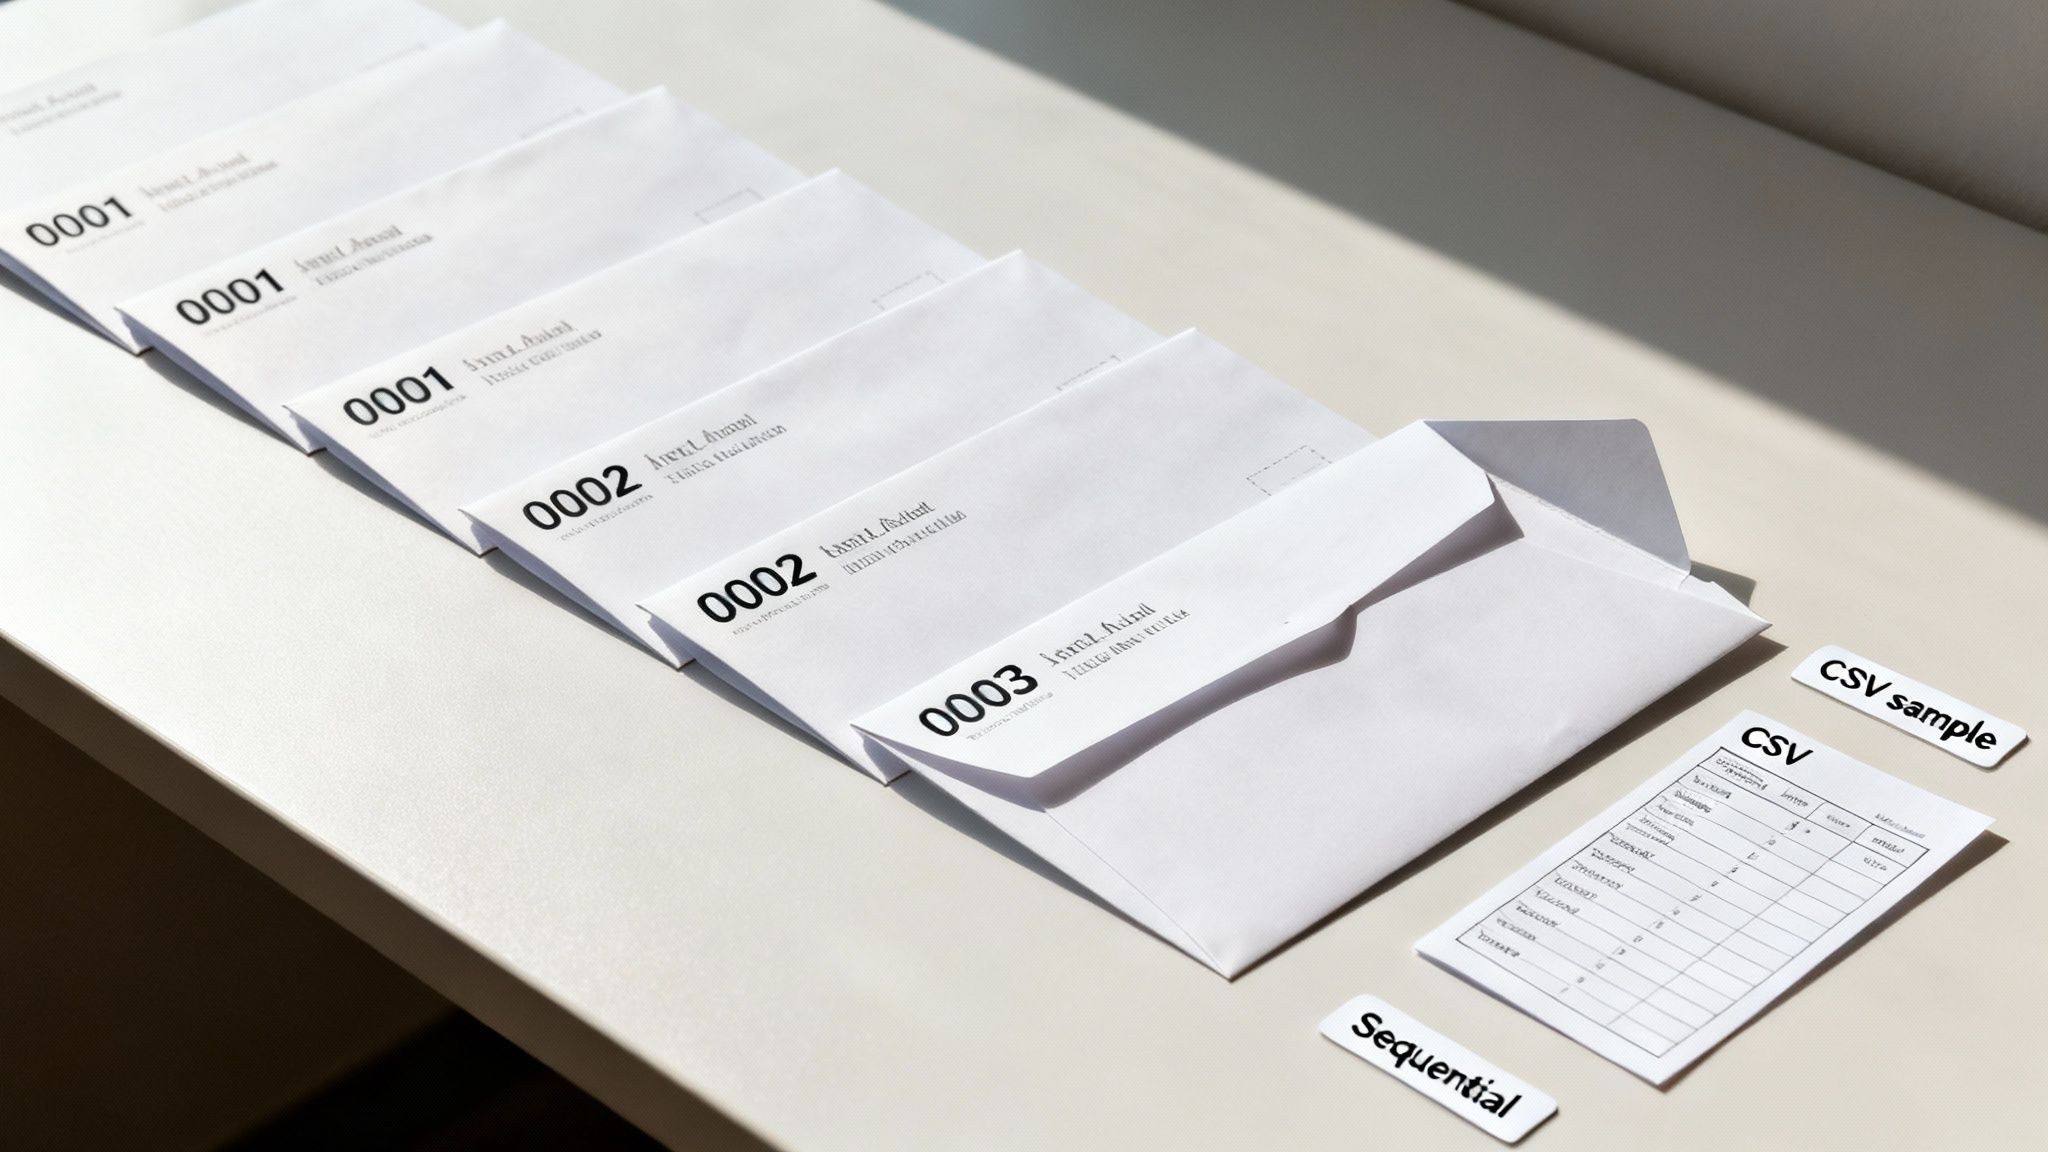
Personalising envelopes transforms each mailer from a generic piece of paper into a conversation starter. With Variable Data Printing (VDP), you’re pulling text, barcodes or unique images straight from your spreadsheet and seeing engagement rise as a result.
The foundation of any successful VDP job is a tidy CSV file. Treat each column like a dedicated slot: recipient names, address lines, unique IDs or custom messages all need their own header.
Preparing Data Sources
Linking your CSV headers to text frames or image placeholders in InDesign, Illustrator or another layout tool guarantees every piece of data lands in the right spot. Typical cleanup chores include:
- Stripping out errant commas and special characters in address fields
- Standardising postcode formats for seamless dispatch
- Removing duplicate records to avoid sending two mailings to the same person
Whether you choose the Data Merge panel in Adobe InDesign or the Variables panel in Illustrator, match your field names exactly—and double-check before you hit print.
Setting Up Print Runs
Printer settings dictate both speed and finish. Opt for greyscale when you only need crisp text and barcodes. Switch to full-colour if you’re adding donor messages, decorative graphics or photos.
| Setting | Ideal Use |
|---|---|
| Greyscale | Text-only address blocks, barcodes |
| Full-colour | Personalised messages, campaign art |
In one real-world example, a charity printed 5,000 thank-you envelopes each with a unique tracking code. The outcome? A remarkable 35% uplift in follow-up click-throughs.
Personalised mail achieves up to 20% higher response rates than generic campaigns.
Before committing to a full run, print a small batch and validate:
- Produce the first 50 envelopes as a proof run
- Verify that numbering flows continuously and remains legible
- Scan every barcode to confirm accuracy
Don’t forget to back up your master dataset before merging—it’s the easiest way to avoid a meltdown if something goes off track.
Validating Batch Data
Even after a smooth proof, keep checking in. Aim to inspect at least one envelope every 100 pieces:
- Examine address placement and font clarity on physical samples
- Test barcode readability with a handheld scanner
- Ensure variable images or logos align perfectly
Generate a digital report to compare your expected sequence against the printed output. Timestamp each dataset and print run to maintain a clear audit trail—this approach catches errors early and prevents costly reprints.
Batch validation is your safety net for flawless mailings.
For a deeper dive into multi-part and NCR workflows, take a look at our specialist guide: https://theprintwarehouse.uk/PrintShop/ncr-printing
Performing Proofing And Ordering Checks
Before your envelopes head to press or get uploaded online a careful final review can save you time and money. Skimming proofs won’t cut it. Even a tiny rotation error can mean a wasted batch. A straightforward checklist keeps everything on track.
Visual Verification Steps
Walk through each item as you review the layout:
• Confirm envelope orientation against the dielines (landscape art on a landscape template).
• Make sure the flap closure direction works with your mailing machines or hand-feed process.
• Align any window cut-outs so addresses centre perfectly within the frame.
• Verify the paper weight matches your specs and test the GSM with a scale.
Different printers have different guardrails. Some flag mismatches early, while others follow exactly what you upload. Building a quick mock-up envelope in your office often highlights hidden layout glitches and material handling quirks before you commit.
Interpreting Digital And Wet Proofs
Digital proofs give you a speedy colour preview but can’t show exact ink opacity. A wet proof on your chosen stock reveals how finishes and ink behave under real press conditions.
When you talk to your vendor, ask:
- Which proof type best matches our paper sample?
- How do you handle registration tolerance?
- What ink coverage can I expect after applying my chosen finish?
| Proof Type | Strength | Limitation |
|---|---|---|
| Digital | Fast turnarounds | Screen-only colour preview |
| Wet | Accurate ink match | Higher cost per proof |
“A wet proof on actual stock is the best defence against colour surprises,” says a production manager.
In fact, handling a printed mock-up can prevent up to 90% of registration errors.
Ordering And Negotiation Tips
Pricing often hinges on volume, lead times and order complexity. You’ll typically see discounts when you order over 2,500 units, trimming 10–15% off your bill.
Try these tactics:
• Bundle various print items—think postcards or letterheads—to boost volume.
• Lock in your turnaround date early to dodge rush fees.
• Specify packaging (pallets, boxes or sleeves) to protect envelopes in transit.
• Get minimum order requirements and surcharges in writing.
Refer to current market rates during negotiations to secure the best deal. Store envelopes flat in a dry environment to avoid moisture or crease damage. Before you place the full order, send a small trial box through your chosen courier to confirm safe transport.
You might find our guide on GSM paper weight helpful: GSM Paper Weight Explained
Packaging And Shipping Safeguards
Proper packaging makes all the difference in preserving your print’s integrity:
• Seal bundles in moisture-resistant wrap to prevent dampening.
• Use edge protectors on palletised shipments to avoid crushed corners.
• Label boxes clearly with handling instructions like Fragile or Keep Dry.
Keep an eye on tracking updates to spot route delays early. Inspect every package on arrival and report any issues within 24 hours to secure claims.
By following these steps, you’ll build trust with recipients and sidestep costly reorders. Ready to start your next envelope print project? The Print Warehouse is here to help you every step of the way.
Frequently Asked Questions
Print envelope projects often bring up a handful of repeat questions. Over the years, I’ve learned that a few practical pointers can save both time and budget.
Understanding run lengths is key. Digital orders usually hit their sweet spot around 100 units. Once you push past 5,000 envelopes, offset printing becomes more cost-effective. And if you need personalised addressing on each piece, inkjet or laser systems let you handle small batches without steep setup fees.
- Digital Runs: Economical from 100 units
- Offset Runs: Best value beyond 5,000 envelopes
- Inkjet Personalisation: Flexible for variable data at any quantity
Do note that many online printers enforce a 100-unit minimum for digital jobs. Smaller jobs typically carry higher per-piece rates, so always confirm thresholds before finalising your order.
Choosing the right ink is just as crucial. For uncoated or kraft stocks, request a wet proof on the actual envelopes. Factor in at least 50% extra drying time to prevent smudges.
Running Full-Bleed Designs
Edge-to-edge printing on windowed envelopes demands extra bleed and careful layout. You’ll want to:
- Embed dielines and outline fonts in a PDF/X-4 proof
- Allow a 3 mm bleed and keep text within a 5 mm safe zone
- Label layers clearly to avoid accidental toggles
“A quick folded proof often highlights cut and registration issues before press,” a production manager once told me—and he was right every time.
Ordering Tips And Pitfalls
Proofs can look perfect on screen but deceive under real-world lighting. Always:
- Compare proofs to daylight, not just your monitor
- Verify paper weight and template alignment to avoid mix-ups
- Ask about packaging methods—bulk discounts often kick in at 2,500 units, saving up to 15%
- Keep backup rolls of labels or envelopes handy to prevent mailing delays
- Insist on a final sealed proof; it’s your last line of defence
A little organisation goes a long way. With these tips in hand, you’ll breeze through your next envelope print run.
Happy mailing!
Ready to start printing with The Print Warehouse Ltd: The Print Warehouse Ltd

