
Banner PVC printing is a brilliant way to turn a simple roll of vinyl into a seriously powerful marketing tool. It’s the go-to choice for creating everything from huge grand opening announcements to professional-looking backdrops for trade shows, perfect for both indoor promotions and resilient outdoor displays.
Why PVC Banners Are a Smart Marketing Choice
Think of PVC banners as the most reliable workhorse in your marketing stable. For any UK business or event organiser, they hit that sweet spot between durability, visual impact, and affordability. They get your message seen, plain and simple.
Their job is to grab attention and communicate clearly, whether you're on a bustling high street or a windy construction site. The physical presence of a well-designed PVC banner is hard to ignore. Unlike a digital ad you can scroll past in a second, a physical banner commands space and cements your brand's presence in the real world. It’s a tangible thing, and that helps build recognition and trust.
Driving Brand Visibility and Engagement
The real magic of banner PVC printing lies in its sheer versatility. A single banner can be used for so many different things throughout its life, giving you an excellent return on your investment.
- Event Promotion: Announce local fairs, music festivals, or charity runs with large, colourful banners that get people excited.
- Retail Signage: Drive footfall by advertising seasonal sales, new product launches, or special offers right outside your shop.
- Trade Show Backdrops: Create a professional, branded space for your exhibition stand that helps you stand out from the competition.
- Directional Signage: Guide attendees at large venues or help customers find their way around a complex retail space with clear, easy-to-read banners.
PVC banners are like silent salespeople, working 24/7 to broadcast your message. They're a fundamental tool for any business looking to make a big visual impact without a big budget.
A Growing Market for a Reason
The fact that this works is reflected in the market. The UK's printed vinyl sector is expanding, and advertising applications like banners and billboards hold the lion's share of the market at 50.06%. This growth is being driven by businesses that realise the value of investing in physical media to cut through all the digital noise.
To get the most out of your banners, think of them as one part of your wider strategies to increase brand awareness and grow your business. While they’re brilliant for visibility, they are just one piece of the puzzle. If you're looking for something with a bit more movement to catch the eye, you might also be interested in what we offer for custom flag printing.
Ultimately, the resilience and high visibility of PVC make it a smart, strategic choice for any marketing campaign.
Choosing the Right PVC Banner for Your Project
Picking the right material for your banner is a bit like choosing the right tyres for a car; it all depends on where you plan to drive it. Not all PVC banners are made equal, and understanding the subtle differences is the first step to a display that looks professional and actually lasts. Your decision will come down to things like location, how you intend to use it, and the overall look you're going for.
This choice is a bigger deal than you might think for businesses across the UK. The global market for PVC flex banners was recently valued at a whopping $2.9 billion and is still climbing, all thanks to a rising demand for advertising that’s both affordable and makes a real impact. It just goes to show how many businesses are relying on getting this decision right. You can dig into the numbers with these PVC flex banner market insights.
To make it simple, this little guide should help you land on the perfect banner based on what you really need: durability, versatility, or sticking to a budget.
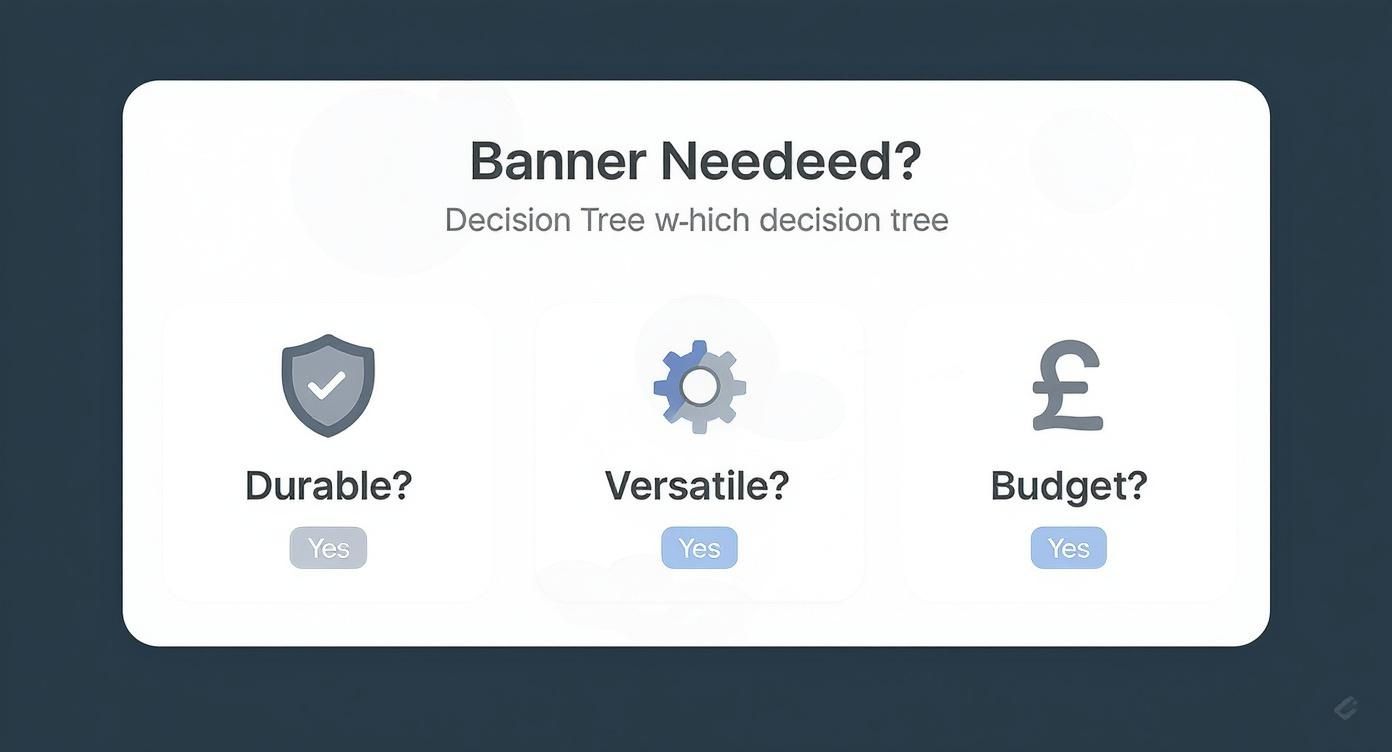
As you can see, when your banner absolutely has to last and be adaptable, putting your money into the right material from the start is the only logical way forward.
Decoding PVC Banner Materials
The material you choose is the foundation of your banner's performance. Each type is engineered for specific conditions, so matching the material to the environment is crucial for both its lifespan and how good it looks. Let's break down the most common options for banner PVC printing.
PVC Banner Material Comparison
To help you get a quick handle on the options, here's a simple side-by-side comparison. Think of this as your cheat sheet for picking the perfect material for the job.
| Material Type | Best Use Case | Key Feature | Wind Resistance |
|---|---|---|---|
| Standard Frontlit | General indoor/outdoor use, shop fronts, events | Versatile and cost-effective | Low |
| Blockout PVC | Double-sided banners, premium exhibitions | 100% opaque, no show-through | Low |
| Mesh PVC | Scaffolding, fences, windy locations | Perforated to let wind pass through | High |
Ultimately, the goal is to match the material's strengths to your banner's intended home. A little thought here goes a long way.
The Main Players Explained
-
Standard Frontlit PVC is the trusty workhorse of the banner world. It's affordable, durable, and brilliant for a huge range of indoor and single-sided outdoor signs. Think of it as the reliable family car perfect for everyday jobs, from promoting a local fete to advertising a sale in a shop window.
-
Blockout PVC is your specialist for situations where you can't afford any compromises. This material has an opaque layer cleverly sandwiched between two outer PVC layers, which completely stops light from bleeding through. This makes it the only real choice for double-sided banners, preventing the design on one side from ghosting through to the other. It's also heavier and tougher, making it ideal for premium banners in high-end retail or exhibition settings.
-
Mesh PVC is built for one main reason: to survive the wind. The material is riddled with tiny holes that allow air to pass straight through, dramatically reducing the "sail effect" that can cause standard banners to rip or pull down their fixings.
If your banner is going on scaffolding, a building site fence, or any exposed, windy spot, mesh isn't just a good idea—it's essential. It protects your investment and ensures your message stays visible, not torn to shreds.
Matching Printing Technology to Your Needs
Once you’ve settled on a material, the next piece of the puzzle is the printing technology. The two most common methods offer different perks when it comes to durability and colour vibrancy.
-
Eco-Solvent Printing: This method uses inks with a mild, biodegradable solvent. It produces fantastic, vivid colours and pin-sharp details, making it a popular choice for banners that will be viewed up close. While it’s durable, it's best suited for short-to-medium-term outdoor use.
-
UV Printing: Here, liquid ink is applied to the banner and then instantly "cured" with ultraviolet (UV) light. This creates an incredibly tough, scratch-resistant, and fade-resistant finish. UV printing is the premium choice for long-term outdoor banners that need to stand up to years of the lovely British weather.
Your choice of printing directly impacts how long your banner will look its best. For a temporary event banner, eco-solvent printing is perfectly fine and kinder to your wallet. But for permanent signage on the side of a building, investing in UV printing will pay for itself over time. For those projects that demand serious wind resistance, you can explore our specific options for high-quality mesh banners.
Setting Up Your Artwork for a Perfect Print
The single biggest difference between a crisp, professional banner and a blurry, disappointing one often comes down to the quality of the artwork file you send us. Think of your design file as the foundation of a building; if the foundation is weak, the entire structure will be unstable, no matter how good the materials are.
Getting your artwork right from the start is absolutely crucial for brilliant banner PVC printing. While it might sound a bit technical, it’s actually pretty straightforward once you get the hang of a few key principles. Following a simple checklist ensures your design translates perfectly from your screen to the final banner, looking exactly as you imagined.
Let’s walk through the essentials, covering everything from image resolution and colour modes to the correct file formats, so your final print is vibrant, sharp, and ready to turn heads.
Resolution: The Key to Clarity
Resolution is probably the most critical part of getting a great finish on large-format prints. It’s measured in DPI (Dots Per Inch) and basically determines how sharp or blurry your printed image will be. More dots mean more detail and a cleaner final product.
For things you view up close, like flyers or brochures, the industry standard is 300 DPI. Banners, however, are usually seen from a distance, so you can get away with a slightly lower resolution. For most PVC banners, a resolution of 150 DPI at the final print size is the sweet spot for a crystal-clear result.
Trying to print a low-resolution image on a huge banner is like stretching a passport photo to the size of a billboard—it’s going to look pixelated and messy, guaranteed.
Always start your design with the correct resolution. You can't add quality to a low-resolution image later on, so setting it up correctly from the beginning is non-negotiable for a professional finish.
Speaking the Printer's Language: CMYK vs RGB
Here’s something many people don’t realise: your computer screen and our printers see colour in two completely different ways. Getting this right is vital if you want the colours on your banner to match what you see on your monitor.
- RGB (Red, Green, Blue) is for screens. It’s an additive colour model that creates colours by mixing light. Think of your TV, monitor, or phone.
- CMYK (Cyan, Magenta, Yellow, Key/Black) is for print. It’s a subtractive colour model that works by mixing physical inks on a surface like paper or vinyl.
If you design in RGB, your colours might look super vibrant on screen, but they can come out looking dull or just plain wrong when printed. To avoid any nasty surprises, always set your artwork’s colour mode to CMYK before you even start designing. This gives you a much more accurate preview of the final printed product.
File Formats and Final Checks
Once your design is ready to go, saving it in the right format is the final hurdle. The best formats are those that lock in the quality of your design and are universally loved by printers everywhere.
Recommended File Formats:
- PDF (Portable Document Format): This is the undisputed industry standard. A high-quality PDF embeds all your fonts, images, and vector graphics into a single, reliable file that just works.
- AI (Adobe Illustrator) / EPS (Encapsulated PostScript): These are vector formats, which means they can be scaled up to any size without losing a drop of quality. They’re perfect for logos and illustrations.
Before you hit 'send', run through this quick checklist:
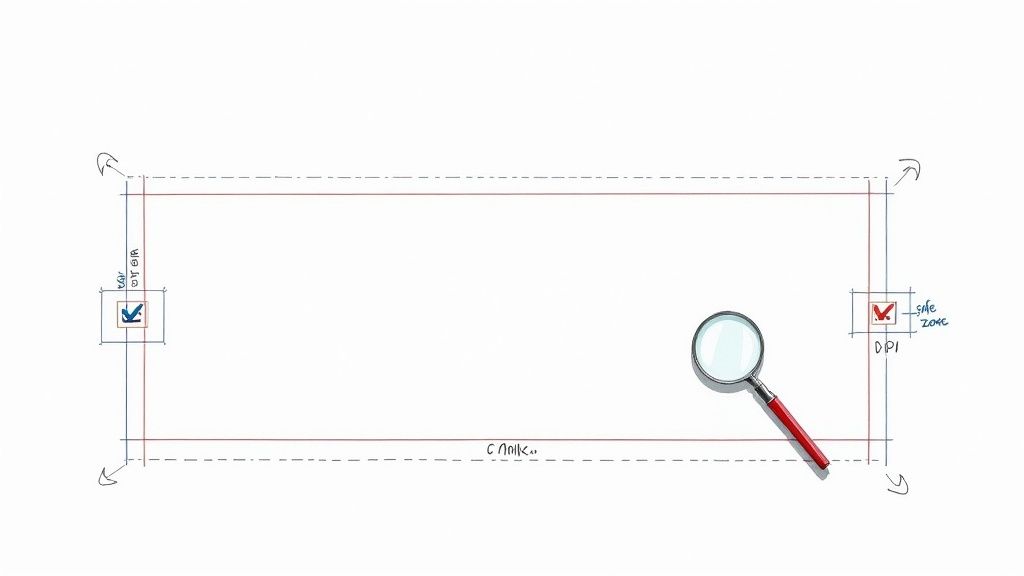
- Bleed and Safe Zone: Always add a 'bleed' area around the edges of your design (usually 3-5mm is enough). This is a little bit of extra background that gets trimmed off, preventing any ugly white edges. At the same time, keep all your important text and logos within a 'safe zone' well away from the edges so nothing gets cut off or hidden by an eyelet.
- Outline Fonts: Convert all text to outlines or curves. This simple step turns the text into a shape, meaning we don't need to have your specific font installed to print it perfectly.
- Check Image Links: Make sure any images used in your design are fully embedded in the file, not just linked to a folder on your computer.
These steps are just as important for a massive banner as they are for smaller prints. For a more detailed look at preparing artwork, you might find our guide on high-quality poster printing useful. Taking a few extra minutes to get your artwork right will save you time, money, and disappointment in the long run.
Understanding Essential Banner Finishing Options
A printed banner is just a sheet of vinyl until it’s finished. The finishing options you choose are what transform that sheet into a durable, ready-to-hang sign that can withstand the rigours of a British high street or a windy outdoor event.
These final touches are just as important as the print itself, determining how your banner hangs, how it holds up under stress, and how long it ultimately lasts. Think of it like getting a suit tailored. The basic material is there, but it’s the seams and structure that make it fit for purpose.
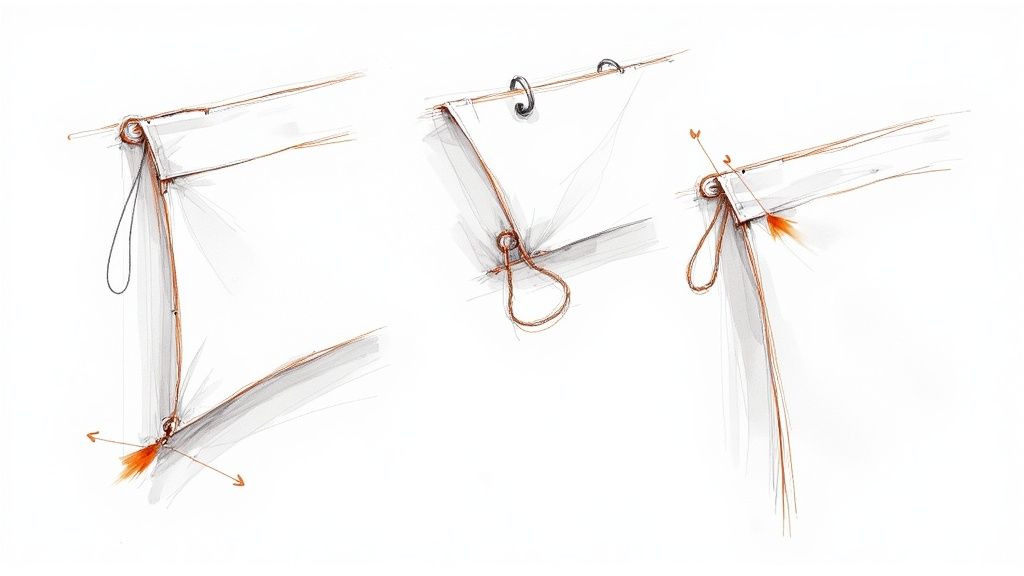
For banner PVC printing, the most common and crucial finishing options are hems, eyelets, and pole pockets. Each serves a specific purpose, and choosing the right combination is key to a professional and secure display.
Let's explore what these options are and, more importantly, when you should use them.
Hems: The Foundation of Banner Strength
A hem on a banner works exactly like the seam on a pair of trousers. It’s a folded-over and welded edge that doubles the thickness of the material around the perimeter. This simple addition dramatically reinforces the banner, preventing the edges from fraying or tearing, especially when tension is applied through eyelets.
An unhemmed banner is a recipe for disaster outdoors, where wind can cause constant stress and lead to ripping. A welded hem distributes this tension across a much stronger edge, making it the foundation of a durable, long-lasting display. For virtually all outdoor applications, hems are a non-negotiable feature.
Eyelets: Your Essential Fixing Points
Eyelets, sometimes called grommets, are the small metal rings punched along the hemmed edges of a banner. These are the reinforced holes you use to securely attach your banner with ropes, cable ties, or bungee cords. Without them, you’d be forced to punch crude holes directly into the vinyl, which would quickly tear under any strain.
The spacing of eyelets is crucial for an even and secure installation.
- Standard Spacing: Typically, eyelets are placed approximately every 50cm around the banner's perimeter. This is absolutely fine for most general-purpose jobs.
- High-Wind Areas: For larger banners or those in very exposed, windy locations, we recommend closer spacing (e.g., every 30cm). This provides more fixing points, distributing the wind load more evenly and reducing the risk of tearing.
Think of eyelets as the anchor points for your message. The more anchors you have, and the stronger the coastline (the hem), the better your ship will weather the storm.
Pole Pockets: For a Polished, Professional Display
Pole pockets offer a cleaner, more rigid alternative to hanging with ropes or ties. A pole pocket is a loop of banner material created by folding over a larger section of the vinyl and welding it to the back, forming a sleeve. This allows a pole, rod, or cable to be slid through, creating a taut, seamless appearance.
You’ll want to choose pole pockets in specific situations:
- Scaffolding Banners: They are perfect for sliding over scaffolding poles, providing a neat and secure fit.
- Parade & Marching Banners: Two pole pockets allow for poles to be inserted at either side, making the banner easy for people to carry.
- Exhibition Stands: Many display systems use poles at the top and bottom to create a perfectly flat and professional-looking backdrop.
When ordering, it’s vital to specify the flat pocket size, which is the width of the material used to create the loop. This ensures your poles will fit snugly. Getting the right finishing touches is a core part of the process, and you can explore various options when you order your custom banners from The Print Warehouse.
How to Install and Display Your Banner Effectively
A brilliantly printed banner is only half the battle – if it’s not installed correctly, it simply won’t deliver. A sloppy installation doesn't just look unprofessional; it puts your investment at the mercy of the wind and rain. The goal is to create a taut, secure display that’s impossible to miss and built to last.
This is about more than just tying a few knots. You need to stop your banner from acting like a sail. When wind gets behind loose vinyl, it puts immense stress on the material and the eyelets. By pulling the surface drum-tight, you get that crisp, wrinkle-free finish and dramatically extend your banner’s lifespan.
Let’s walk through the best ways to hang a banner in the most common spots.
Attaching Banners to Fences and Railings
Chain-link fences and railings are perfect for hanging banners. They offer fantastic visibility at events, on construction sites, or along busy roads, and their open structure makes for a secure and straightforward job.
Here’s the process for a professional finish:
- Start at the Top: Begin by loosely fastening the top corners of the banner to the fence with strong cable ties or bungee cords. Don't pull them completely tight just yet.
- Work Across the Top: Now, attach the rest of the top eyelets, adding just enough tension to keep the banner straight and level.
- Secure the Bottom Corners: Next, move to the bottom corners. Pull the banner down firmly to create a strong vertical tension. This is the single most important step for getting rid of any wrinkles.
- Finish Off: Finally, work your way around the sides and the remaining bottom eyelets, making sure the entire banner is pulled taut in every direction.
It's tempting to just secure the four corners and call it a day, but this is a classic mistake. The middle is left to flap and billow in the wind, which is the number one cause of tearing. For maximum strength, use every single eyelet.
Mounting on Brick Walls and Solid Surfaces
Hanging a banner on a solid surface like a brick or concrete wall takes a bit more work, but the result is a clean, permanent-looking display. This method involves drilling and using the right wall plugs and screws for the job.
You'll need to drill holes into the wall that line up with your banner's eyelets. The secret here is to place a large washer between the screw head and the eyelet. This simple trick spreads the pressure evenly and stops the screw from ripping through the vinyl when you apply tension.
Start with the top corners, then pull the banner tight as you fix the bottom and side points. It’s the ideal method for long-term retail signage and high-impact promotional displays.
Hanging a Banner Between Posts or Poles
When you need to span a road, a race finishing line, or an event entrance, hanging your banner between two posts is the way to go. The trick is to run a tensioned rope or wire through the top and bottom hems or pole pockets before you hang it.
Once the rope is through, you attach the rope—not the banner itself—securely to the posts. This technique cleverly transfers the load from the banner vinyl to the rope, which stops the banner from sagging in the middle and gives it far better wind resistance. You’re left with a perfectly straight, rigid display that looks incredibly professional.
For a bit of creative inspiration on setting up high-impact displays, it's always worth checking out some inspiring trade show display ideas to see how the pros do it.
How Long Do PVC Banners Last (And What About Greener Options)?
When you invest in a banner, one of the first questions is always the same: how long will it actually last? After all, a banner is only a smart marketing move if it can stand up to the famously unpredictable UK weather, from bright summer sun to driving winter rain.
The good news is, a professionally printed PVC banner is built tough. A high-quality outdoor banner, printed with UV-resistant inks and installed correctly, can easily last anywhere from 3 to 5 years. Its lifespan really comes down to a few key things. Constant, direct sunlight will eventually cause some fading over time, while high winds put physical stress on the material and eyelets. A banner that’s pulled taut and properly secured will always outlive one that's left to flap about.
The Big Shift Towards Sustainable Banners
While the durability of traditional PVC is hard to beat, there's a major shift happening across the UK print world. More and more, businesses and event organisers are looking for environmentally conscious options that don't compromise on quality.
Sustainability is no longer a niche concern—it’s a key factor in purchasing decisions. In fact, within the UK's promotional materials market, which recently saw sales hit £1.232 billion, the top search theme was 'eco-friendly ideas'. This tells you everything you need to know: people want greener alternatives. As a result, new materials like recyclable polyester and PVC-free boards are quickly gaining ground. You can find out more on this trend and learn about the UK's custom printing market outlook.
This isn't just about ticking a box; it's about making sure your brand's values align with what your customers care about.
Exploring Today’s Eco-Friendly Banner Materials
The print industry has risen to the challenge, developing a fantastic range of innovative, sustainable materials that look brilliant and perform just as well as their traditional counterparts. These alternatives let you get your message out there while minimising your environmental footprint.
Here are some of the most popular PVC-free options available today:
- Recyclable Polyester: Often made from recycled materials like plastic bottles, this fabric-like material is lightweight yet durable and produces stunningly vibrant colours. It's a fantastic choice for indoor displays, exhibition graphics, and shorter-term outdoor events.
- Non-PVC Polyethylene: This is a 100% recyclable material with a tough, multi-layer construction that’s perfect for both indoor and outdoor banners. It offers exceptional colour reproduction and serves as a direct, greener substitute for traditional PVC.
- Honeycomb Board: Made from 100% paper fibre held together with water-based glues, this rigid board is a brilliant, recyclable alternative for indoor signage. It’s surprisingly strong yet incredibly lightweight, making it ideal for shop displays and trade show stands.
Choosing an eco-friendly banner material is a powerful statement. It shows your customers that your brand is forward-thinking and committed to making responsible choices, which can resonate deeply in today's market.
These materials prove you no longer have to choose between quality and sustainability. For businesses looking to make a positive impact, exploring these options is the natural next step. If you’re ready to make the switch, we offer a range of high-performance, eco-conscious PVC-free banners that deliver brilliant results without the environmental compromise.
Common Questions About Banner PVC Printing
Diving into the world of PVC banners can bring up a few questions, especially when you want to get every detail just right. To help you finalise your plans with confidence, we’ve put together some quick, clear answers to the queries we hear most often about banner PVC printing.
This section tackles everything from how long your banner will last in the unpredictable UK weather to the best way to pop it into storage, giving you the practical know-how you need to make a smart investment.
How Long Will My PVC Banner Last Outdoors in the UK?
A professionally made outdoor PVC banner is built to be a workhorse. When printed with high-quality, UV-stable inks and installed properly, you can expect it to look great for 3-5 years in a typical UK setting.
Of course, its exact lifespan will depend on what you throw at it. A banner in constant, direct sunlight or a particularly windy spot will naturally show wear faster than one in a more sheltered location. To get the most out of it, always go for reinforced hems and make sure you use every single eyelet when you hang it up. This simple step spreads the tension evenly and is your best defence against tearing.
What Is the Difference Between 440gsm and 510gsm PVC?
The term ‘gsm’ simply stands for ‘grams per square metre’. It’s a straightforward measure of the material's weight and thickness. Think of it like paper quality—a higher gsm means a thicker, tougher, and more substantial material.
- 440gsm PVC: This is the industry go-to and a brilliant, cost-effective choice for most jobs. It’s perfect for indoor displays, temporary event signage, and any short-to-medium-term outdoor use.
- 510gsm PVC: This is our heavyweight, premium-grade option. It offers superior strength and is much more resistant to tearing. It's the ideal choice for very large banners, long-term outdoor displays, or any situation where maximum durability is a must.
Can I Fold My PVC Banner for Storage?
While it might seem like the easiest option, folding a PVC banner is a big no-no. Folding creates sharp, permanent creases that can crack the print and damage the vinyl over time, leaving your banner with ugly lines that you just can't get rid of.
The best way to store your banner is to roll it up, always with the printed side facing outwards. This protects the delicate ink layer from getting squashed and helps keep the surface perfectly smooth and ready for its next outing.
If your banner arrives folded from transit, just unroll it as soon as you can. Laying it flat in a warm room for a few hours will help the material relax and should see most of those transit creases disappear.
What Artwork Resolution Is Best for a Large Banner?
This is a common worry, but the answer is simpler than you’d think. Unlike a business card or a leaflet that’s viewed up close, a banner is designed to be seen from a distance. Because of this, you don't need the standard 300dpi (dots per inch) that you would for small-format print.
For almost all banner sizes, a resolution of 150dpi at the final print size is more than enough to produce a sharp, vibrant, and professional-looking finish. For huge banners viewed from far away (like on the side of a building), you can even get fantastic results with a resolution as low as 75dpi. It's always a good idea to double-check the specific artwork requirements before you start designing, though.
Ready to create a banner that gets your message noticed? At The Print Warehouse Ltd, we make high-quality PVC banner printing simple. Upload your artwork and get started today!

