
Adding a vignette in Photoshop is a classic, powerful technique. It’s all about subtly darkening the edges of a photo to pull the viewer's eye right where you want it: the main subject. This simple effect can add depth, shift the mood, and give almost any image a professional, polished finish. For photographers and designers, it’s an absolutely essential skill to master.
Why a Great Vignette Still Matters
A good vignette is much more than just blackened corners; it’s a deliberate artistic choice with a clear job to do. When done well, it acts as an invisible guide for the viewer's gaze.
Think about a spotlight on a stage. It doesn’t just light up the main actor; it makes everything else fade into the background. A well-crafted vignette in Photoshop works on that exact same principle, gently pushing any distractions at the edge of the frame into the shadows.
Guiding the Viewer and Enhancing Mood
At its core, a vignette is all about compositional control. In a portrait, a soft, dark vignette can quieten a busy background and pull all the focus to the subject's eyes. For a landscape shot, it can add drama to a stormy sky or create a warm, nostalgic feel. The effect can be dialled in to enhance whatever mood the photo already has.
- For Portraits: A subtle vignette creates intimacy and focus, making the connection with the subject feel more direct and personal.
- For Landscapes: It can beautifully frame a scene, adding a real sense of depth and stopping the viewer's eye from drifting off the edge of the image.
- For Product Shots: A clean vignette helps the central product "pop," giving it a more premium and professional look.
Just like a carefully placed vignette draws the eye, other techniques like blurring backgrounds in photos are also fantastic for making your subject the undeniable hero of the shot.
A successful vignette is one you feel more than you see. If the effect is immediately obvious with harsh, dark corners, you’ve probably pushed it too far. Subtlety is always the name of the game.
The Pillars of an Effective Vignette
Nailing a high-quality vignette really comes down to three things: subtlety, shape, and feathering. A heavy-handed, perfectly round vignette just screams "fake" and looks amateurish. The most believable and effective vignettes are those that feel a bit more organic or irregular, and most importantly, have an incredibly soft transition or feather from dark to light.
This is especially critical when you're preparing images for print. An overly dark vignette that looks fine on a bright screen can easily turn into a muddy, distracting mess on paper. To make sure your images look their best, professional services for high-quality poster printing can make all the difference, as they can accurately reproduce those delicate tonal shifts.
Throughout this guide, we’ll stick to non-destructive workflows. That way, you’ll always have the flexibility to go back and tweak your vignette for the perfect result, every single time.
The Camera Raw Filter for Quick Vignettes
When you need a high-quality, symmetrical vignette and you need it fast, the Camera Raw Filter is your best friend. It gives you an incredible amount of control through a really simple interface, making it perfect whether you're a seasoned pro or just starting out. Best of all, it's a completely non-destructive workflow.
First things first, make sure your image layer is a Smart Object. Just right-click the layer in the Layers panel and choose ‘Convert to Smart Object’. This is a crucial step because it lets you go back and tweak the Camera Raw settings anytime you want, without ever damaging your original photo. With that done, head up to Filter > Camera Raw Filter.

Navigating the Effects Panel
Once the Camera Raw window opens, look for the Effects panel on the right-hand side. This is where you'll find the Vignetting sliders, which Photoshop calls Post-Crop Vignetting. This is an important detail—it means the effect is applied after you’ve cropped your image, so your vignette will always frame the final composition perfectly.
The sliders are straightforward but surprisingly powerful. Getting a feel for each one is the key to creating a natural-looking vignette.
- Amount: This is the big one. Slide it left to darken the corners for a classic vignette, or slide it right to lighten them for a brighter, more ethereal look.
- Midpoint: This controls how far the effect creeps towards the centre. A low value keeps the vignette tight to the edges, while a higher one pushes it inwards, focusing the viewer’s eye even more.
- Roundness: Here, you can fine-tune the vignette's shape. Negative values make it more rectangular to match the frame, while positive values create a more distinct oval or circle.
- Feather: This is arguably the most important slider for a natural finish. A low Feather creates a hard, obvious edge that almost always looks fake. A high value gives you a soft, gradual transition that blends seamlessly.
Practical Starting Points
The "right" settings depend entirely on your image. A moody landscape might call for a stronger effect than a subtle portrait. The real art is making sure the vignette enhances the photo without being the first thing someone notices; it should feel like part of the natural lighting.
For portraits, I often start with an Amount around -15, a Midpoint of 40, a Roundness of +20, and a Feather of 75. For landscapes, I might push the Amount to -25 and dial the Roundness back to around -30 to better fit the rectangular frame.
These are just my go-to baselines. Here’s a little trick: set the Amount to an extreme value like -100 first. This makes the effect really obvious, so you can easily see how the Midpoint, Roundness, and Feather sliders are changing the shape. Once you’ve dialled in the shape and softness you want, bring the Amount back up until the effect is subtle and supportive, not overpowering.
The control you get here is fantastic for creating marketing materials where the subject absolutely needs to pop. When you’re preparing images for print, like for a batch of high-quality flyers, a well-judged vignette can make your key message impossible to ignore.
Total Control with Adjustment Layers and Masks
While the Camera Raw Filter is brilliant for speed, sometimes a standard oval vignette just won't do the job. For maximum creative freedom and pixel-perfect precision, nothing gives you more control over your vignette in Photoshop than combining adjustment layers with layer masks.
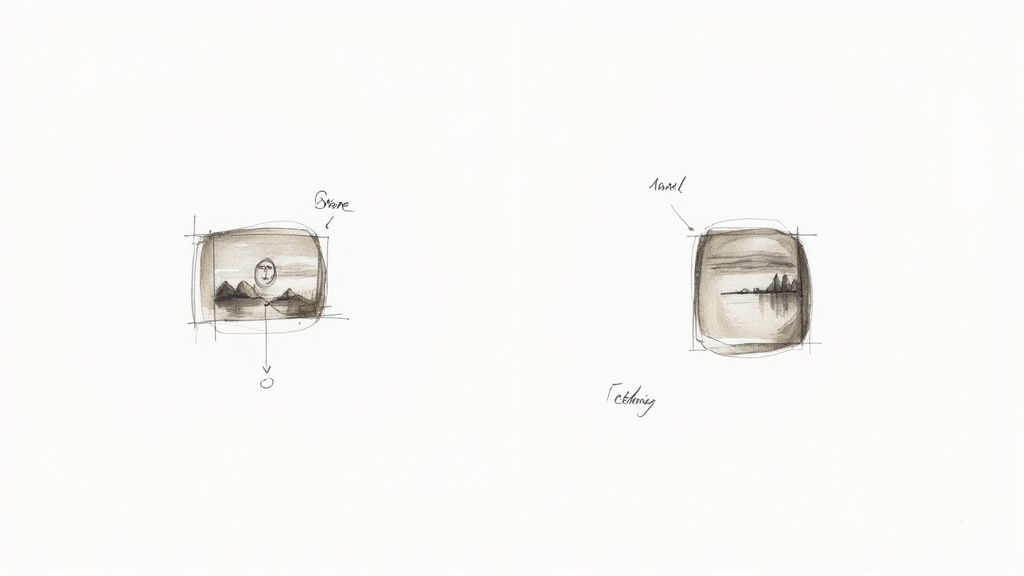
This non-destructive method lets you build a completely bespoke effect right from scratch. It's the perfect approach for asymmetrical compositions or when your subject is off-centre. Imagine a portrait where your subject is on the right third of the frame a standard vignette would awkwardly darken parts of them. With this technique, you can shape the shadow to perfectly complement the image's unique balance.
Building Your Custom Vignette
First things first, we'll create a Curves adjustment layer. Head over to your Layers panel, click the half-black, half-white circle icon at the bottom, and select 'Curves'. You could also use Levels or Brightness/Contrast, but Curves offers far more nuanced control over the tonality.
In the Properties panel that pops up, click the middle of the diagonal line and drag it downwards. This will darken the entire image. Don't worry about getting it perfect right now; this is just a starting point, and you can tweak it as much as you like later on.
Of course, a completely dark image isn't what we want. The magic happens in the layer mask. The adjustment layer automatically comes with a white mask, which reveals the darkening effect everywhere. We need to flip this. With the mask thumbnail selected (it should have a white border around it), just press Ctrl+I (or Cmd+I on a Mac) to invert it to black. The darkening effect will vanish completely because a black mask hides the layer's effect. Now you have a blank canvas to paint your vignette onto.
This quick guide can help you decide whether your photo's mood calls for a dark, moody vignette or a lighter, more ethereal one.
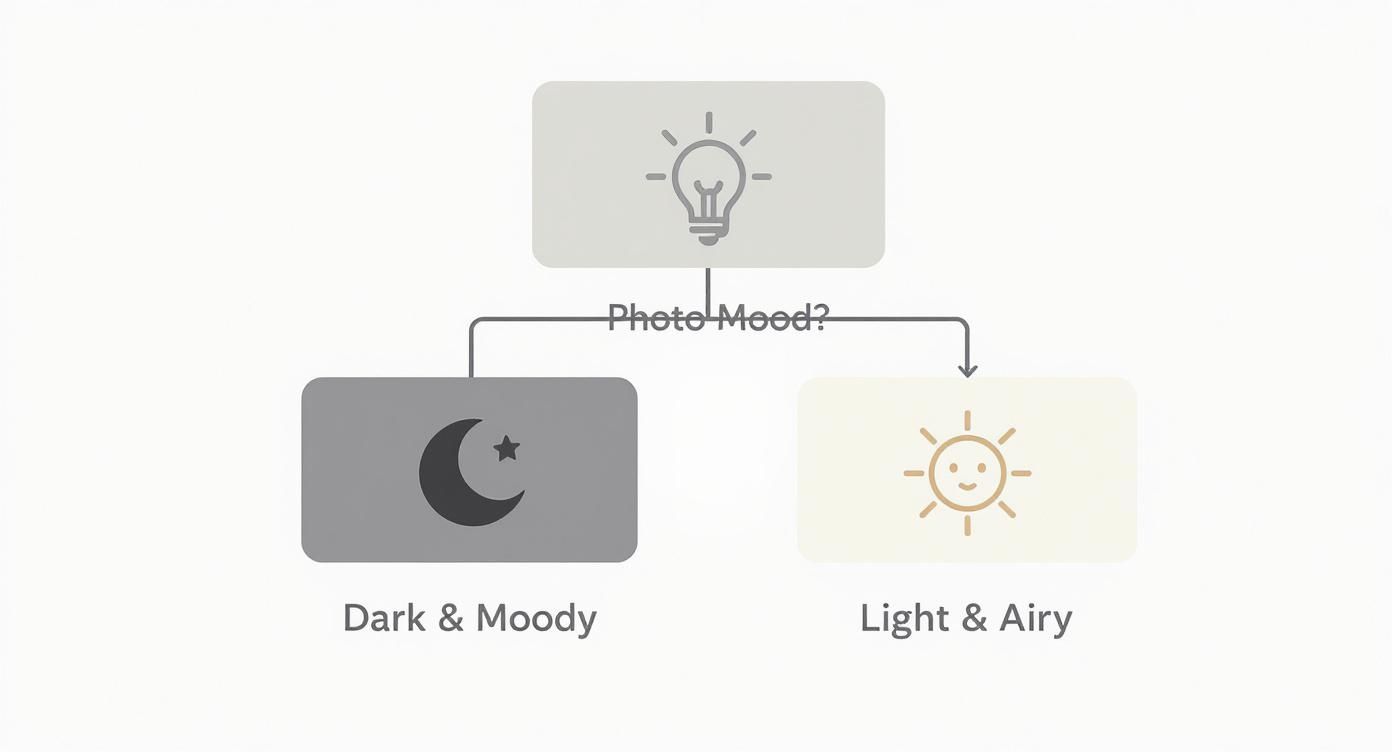
Thinking about the atmosphere first helps direct the type of vignette you apply, ensuring it enhances the story you're trying to tell.
Painting with Precision
Now for the fun part. Select the Brush Tool (B) and pick a large, soft-edged round brush. Make sure your foreground colour is set to white. Up in the options bar at the top, dial the brush Opacity down to around 20-30%.
With that set up, you can simply paint around the edges of your photo, building up the darkness exactly where you want it. Each brush stroke will reveal a little more of the darkening effect from your Curves layer.
This method is all about building the effect gradually. Using a low opacity brush and making multiple passes gives you a beautifully smooth, feathered transition that feels completely organic and intentional.
You can easily paint more heavily in some corners than others, avoiding your main subject entirely. If you want to dive deeper into managing image elements, it's worth checking out some guides on mastering background manipulation in Photoshop. And for an even smoother, perfectly centred effect, you can always use the Gradient Tool on the layer mask instead of a brush.
This level of detail is a game-changer when creating custom marketing materials. For instance, when designing product labels, you can use a custom vignette to make the brand name pop without obscuring important product details. You can explore a variety of professional printing options for stickers and labels that will showcase your carefully edited images perfectly.
Choosing Your Photoshop Vignette Method
Not sure which non-destructive technique is right for your project? Here’s a quick comparison to help you decide.
| Method | Best For | Level of Control | Speed |
|---|---|---|---|
| Adjustment Layer + Mask | Custom shapes, off-centre subjects, and maximum creative freedom. | Very High: Paint the effect exactly where you need it. | Slower, requires manual painting. |
| Camera Raw Filter | Quick, classic vignettes for symmetrically composed images. | Medium: Great sliders for feathering, roundness, and intensity. | Very Fast: A few quick slider adjustments get the job done. |
| Gradient on a Mask | Perfectly symmetrical and smooth vignettes with soft transitions. | High: Precise control over the gradient's shape and spread. | Fast, once you're familiar with the tool. |
Ultimately, the best method comes down to the specific needs of your image and how much time you have. Having all these techniques in your toolkit means you’re ready for any creative challenge.
Pro Techniques for Custom Vignettes
When the standard sliders just don’t cut it, it’s time to pull out the techniques the pros use. These methods go way beyond simple circles and ovals, giving you pixel-perfect control to craft a vignette that truly fits your image’s unique composition.
One surprisingly powerful tool is the Lens Correction filter. Its main job is fixing optical distortion, but its vignette slider can be used for a much more subtle effect. Unlike the one in Camera Raw, this filter mimics the natural light fall-off from a real camera lens, often creating a far more organic and believable result.
Best of all, you can apply it as a Smart Filter. This means you get that gentle, authentic-looking darkening completely non-destructively, making it a brilliant starting point for more detailed edits.
Manual Painting for Ultimate Control
For the absolute highest degree of precision, nothing beats painting your light and shadows by hand. This approach lets you create a vignette in Photoshop that follows the natural shapes and lines of your subject, adding a layer of depth and artistry that automated filters can’t touch.
The secret lies in a classic, non-destructive workflow using a neutral grey layer. Here’s how to set it up:
- Create a new, empty layer above your image.
- Head up to Edit > Fill and choose 50% Gray from the 'Contents' dropdown.
- Now, change this new layer’s blend mode to Overlay or Soft Light. The image will look exactly the same, but you’ve just created a blank canvas for light and shadow.
This setup is your playground. You can paint directly onto this grey layer to brighten or darken parts of your image without ever touching the original pixels underneath.
Using a 50% grey layer set to Overlay is a cornerstone technique borrowed from high-end digital retouching. Anything you paint with white brightens the image below, and anything in black darkens it. It’s like having a reusable, editable canvas for dodging and burning.
Crafting a Vignette with Dodge and Burn
With your grey layer ready, grab the Dodge Tool to lighten areas and the Burn Tool to darken them. In the options bar at the top, set the Range to ‘Midtones’ and keep your Exposure nice and low around 5-10% is a great place to start.
Now, you can begin painting. Using a large, soft brush with the Burn Tool, gently build up shadows around the edges of the frame. The key here is to work slowly, using multiple passes to create a smooth, gradual transition that doesn't look forced.
Imagine you're working on a product shot. Instead of a generic oval, you can carefully burn in shadows that wrap around the object, giving it a real sense of three-dimensionality. You could darken the background just behind it while using the Dodge tool to add a subtle pop of light to its front-facing edges. This level of detail is what makes an image jump off the page, especially for print projects like eye-catching indoor posters, where every little detail counts.
This manual approach turns a simple vignette from a basic framing device into a powerful compositional tool. It gives you the power to guide the viewer’s eye with total precision, making sure the focus lands exactly where you want it, every single time.
Refining and Troubleshooting Your Vignettes
Creating a beautiful vignette is one thing; making sure it holds up under scrutiny is another altogether. A truly professional finish means taking a final look for common technical hitches that can ruin an otherwise great image, especially when you’re moving from a glowing screen to a printed page.
One of the most common culprits I see is banding. This is where the smooth, soft fade of your vignette breaks down into visible, chunky bands of colour. It’s particularly nasty in 8-bit images with large areas of subtle gradients, like a clear sky or a clean studio background. It just completely shatters the illusion of a natural, gentle shadow.
Preventing and Fixing Banding
The best defence against banding is to work in a higher bit depth from the get-go. If you can, switch your document to 16 Bits/Channel (Image > Mode > 16 Bits/Channel). This gives Photoshop a massive amount of extra colour information to play with, resulting in far smoother gradients.
But what if you’re already seeing banding, or you’re stuck working in an 8-bit file? There’s a classic pro trick for this. Adding a tiny bit of noise or grain breaks up the smooth transitions just enough to fool the eye and smooth everything out.
- Create a new layer right at the top of your stack.
- Fill this layer with 50% grey (Edit > Fill).
- Change the layer’s blend mode to Soft Light or Overlay.
- Now, go to Filter > Noise > Add Noise. Add a tiny amount, maybe 1-3%, and make sure ‘Monochromatic’ is ticked.
This subtle texture is often invisible at a normal viewing distance but works wonders on those problematic gradients in your vignette.
From Screen to Print: The Darkening Problem
A vignette that looks perfectly subtle on your backlit monitor can often print much, much darker, turning into a heavy, distracting smudge on paper. This happens because screens emit light, while paper merely reflects it. What looks like a gentle shadow on your screen can easily become a heavy patch of ink.
Before you finalise an image for print, I always recommend creating a temporary Curves or Levels adjustment layer and nudging the overall brightness up slightly. This gives you a better idea of how it will look on paper and helps you spot a vignette that’s way too intense.
When you’re prepping a vignette in Photoshop for print, aim for a lighter touch than you think you need. A good rule of thumb is to reduce the opacity of your vignette layer by an extra 10-15% compared to how it looks on your screen. This simple adjustment can save you from a very disappointing print run.
Harmonising with Colour Tints
Finally, a truly refined vignette shouldn’t just be a neutral darkening; it needs to harmonise with the overall colour palette of your photo. A stark, grey vignette on a warm, golden-hour portrait can feel cold and completely disconnected from the scene.
The fix is to add a subtle colour tint. If you built your vignette on a Curves adjustment layer, this is easy. Just click into the Red, Green, or Blue channels and make a tiny tweak. For a warm image, a minuscule bump in the Red channel and a slight drop in the Blue channel within the darkened areas will blend the vignette beautifully.
It’s this final touch that separates a good vignette from a great one.
Common Questions About Photoshop Vignettes
When you're getting to grips with vignettes in Photoshop, a few common questions always seem to crop up. Getting these sorted will help you sidestep frequent issues and make your editing workflow a whole lot smoother.
So, what's the most flexible, non-destructive way to add a vignette? Hands down, it's using an Adjustment Layer (like Curves) paired with a Layer Mask. This combo gives you total freedom to tweak the vignette’s shape, intensity, and feathering at any point without ever damaging your original photo. The Camera Raw Smart Filter is another brilliant non-destructive option, especially if you need quick, symmetrical results.
Why Does My Vignette Look Choppy?
If you're seeing ugly, visible bands of colour in your vignette instead of a smooth gradient, you've run into an issue called banding. This tends to happen in 8-bit images, especially those with smooth tonal transitions like a clear sky or a clean studio backdrop.
The best fix is to give Photoshop more colour information to work with. You can do this by switching your document to a higher bit depth. Just go to Image > Mode > 16 Bits/Channel. This simple change provides significantly more data, resulting in much smoother, professional-looking gradients. For more deep dives into maintaining image quality for print, check out the resources on our blog.
Here's a quick pro-tip to fight banding: add a tiny bit of noise. Create a new layer, fill it with 50% grey, and set its blend mode to Overlay. Then, apply a 1-2% monochromatic noise filter. This subtle texture is just enough to break up the gradient and make any banding disappear.
How Do I Create a Light Vignette?
Creating a white or light vignette—sometimes called a reverse vignette uses the exact same tools, just flipped around. It's a fantastic technique for achieving a bright, airy, or high-key look, drawing the viewer's eye with light instead of shadow.
It's surprisingly simple. If you’re using the Camera Raw filter, just drag the Amount slider to the right instead of the left. This lightens the corners.
Working with a Curves adjustment layer? Instead of pulling the curve down to darken, you push it upwards to brighten the image. From there, the layer mask technique is identical: invert the mask to black, grab a soft white brush, and paint the brightening effect onto the edges of your photo.
At The Print Warehouse Ltd, we turn your perfectly edited images into high-quality printed materials that make a real impact. Whether you need vibrant flyers, professional business cards, or eye-catching posters, our easy-to-use platform and premium finishes ensure your designs look their absolute best. Bring your vision to life today at https://theprintwarehouse.uk.

